Protocol Categories
Removal of semi-permanent nail varnish and nail regeneration
It is when removing make-up that the nail is most often damaged: due to over-aggressive filing, leaving nail varnish remover on for too long, or forcibly removing varnish residue. The consequences become apparent as soon as the next coat of polish is applied: lifting, thinning of the nail plate and increased sensitivity. This protocol describes the controlled removal of semi-permanent nail varnish and the regeneration of the nail plate prior to a new application or a rest period. It applies to coloured gels, rubber bases and strengthening gel coatings.
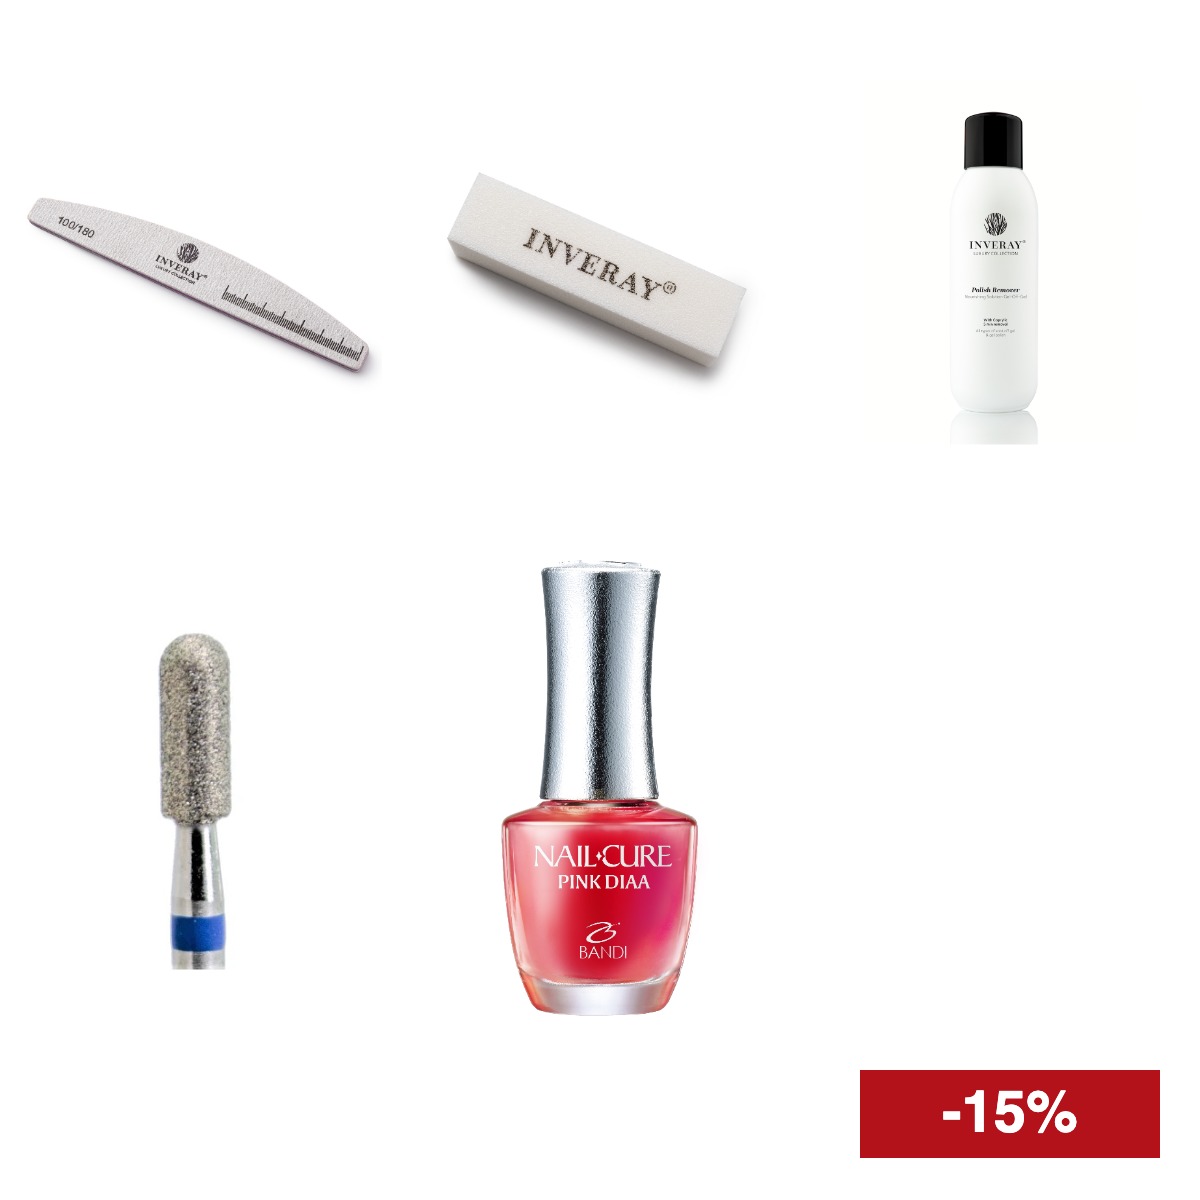
Semi-permanent nail varnish removal kit, 5 pieces
Using a 100/180-grit nail file, remove only the shiny top layer, without damaging the colour or the base coat. This step allows the nail varnish remover to penetrate the structure of the nail: without it, the time needed to remove the varnish doubles and the temptation to forcibly peel off the remaining varnish becomes stronger.
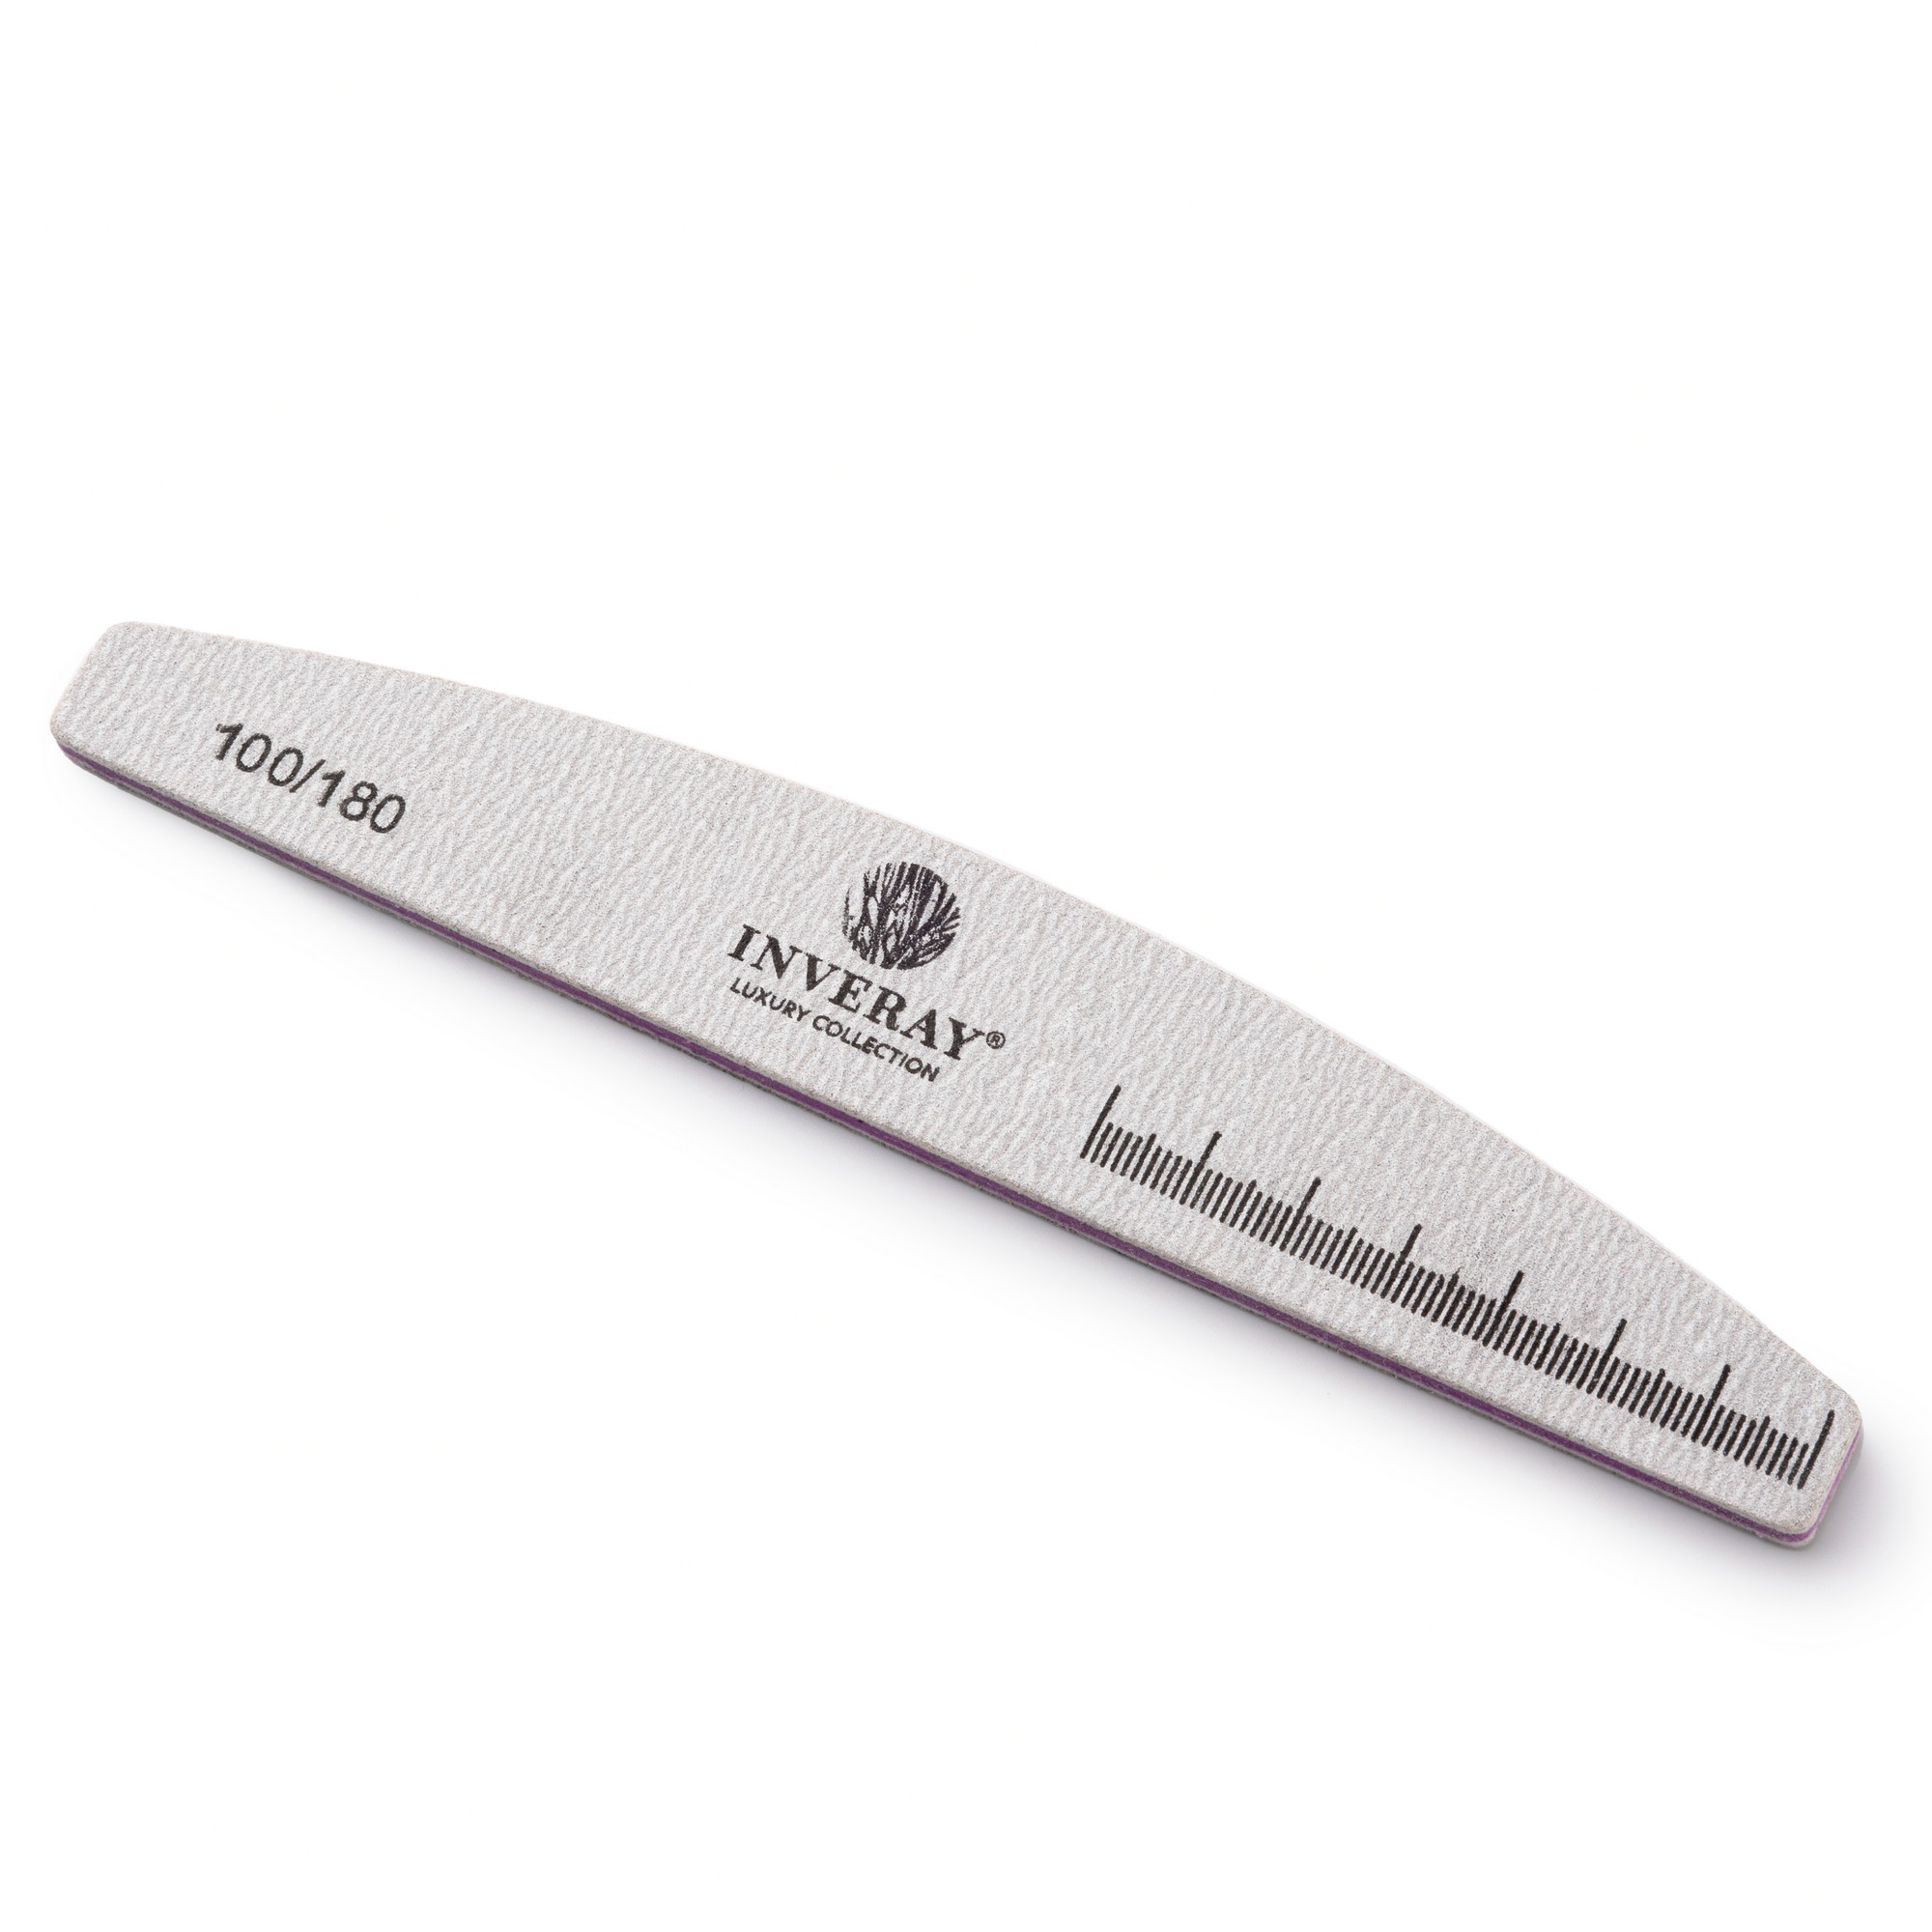
Lime à ongles demi-lune 100/180 Inveray
Soak a cotton pad in nail varnish remover, place it on the nail and wrap it around your finger. Follow the manufacturer’s instructions regarding the duration of application: if you leave the nail varnish remover on for too short a time, it will remain on the nail and will need to be removed with a nail file; if you leave it on for too long, the nail plate will dry out and turn white.
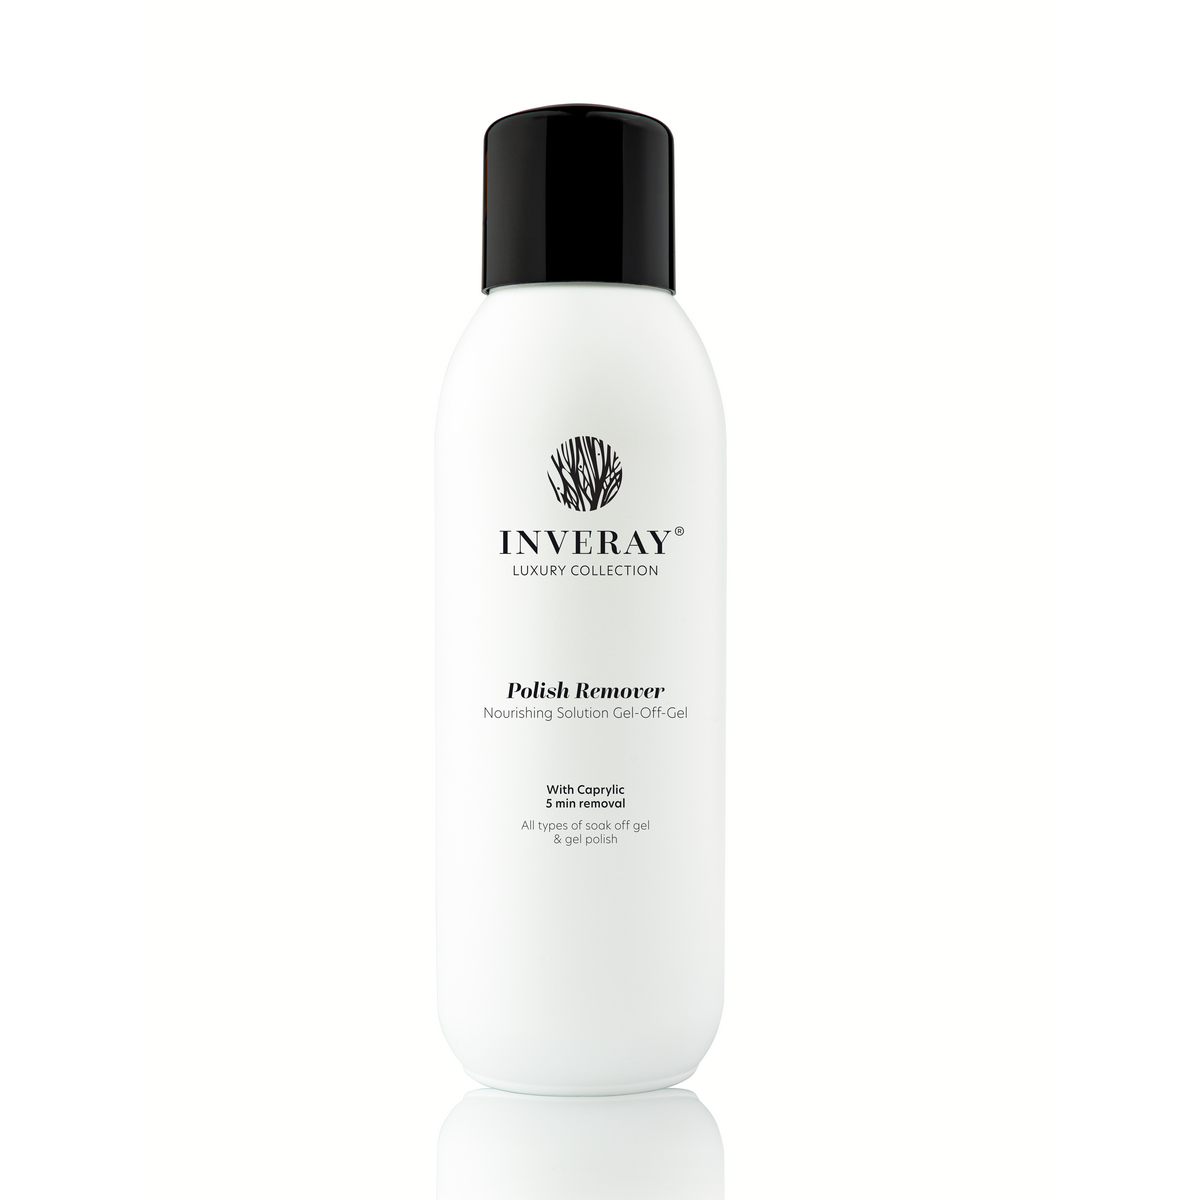
Polish Remover Nourishing Solution Gel-Off-Gel – Inveray
Remove the softened residue using a diamond bur at low speed and with gentle movements, without applying any pressure whatsoever. If the residue cannot be removed, this means it has not yet softened sufficiently: repeat the previous step and do not try to remove it by force.
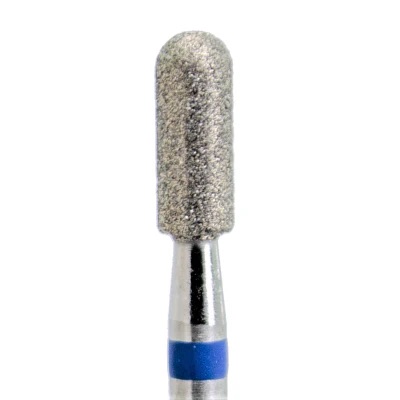
Diamond bit 031 - KMIZ
Sand the surface using a 180/240-grit file fitted to a metal holder. At this stage, no further material is removed; the aim is simply to smooth the surface. Excessive filing of the plate after material removal is the most common cause of the next layer peeling off.
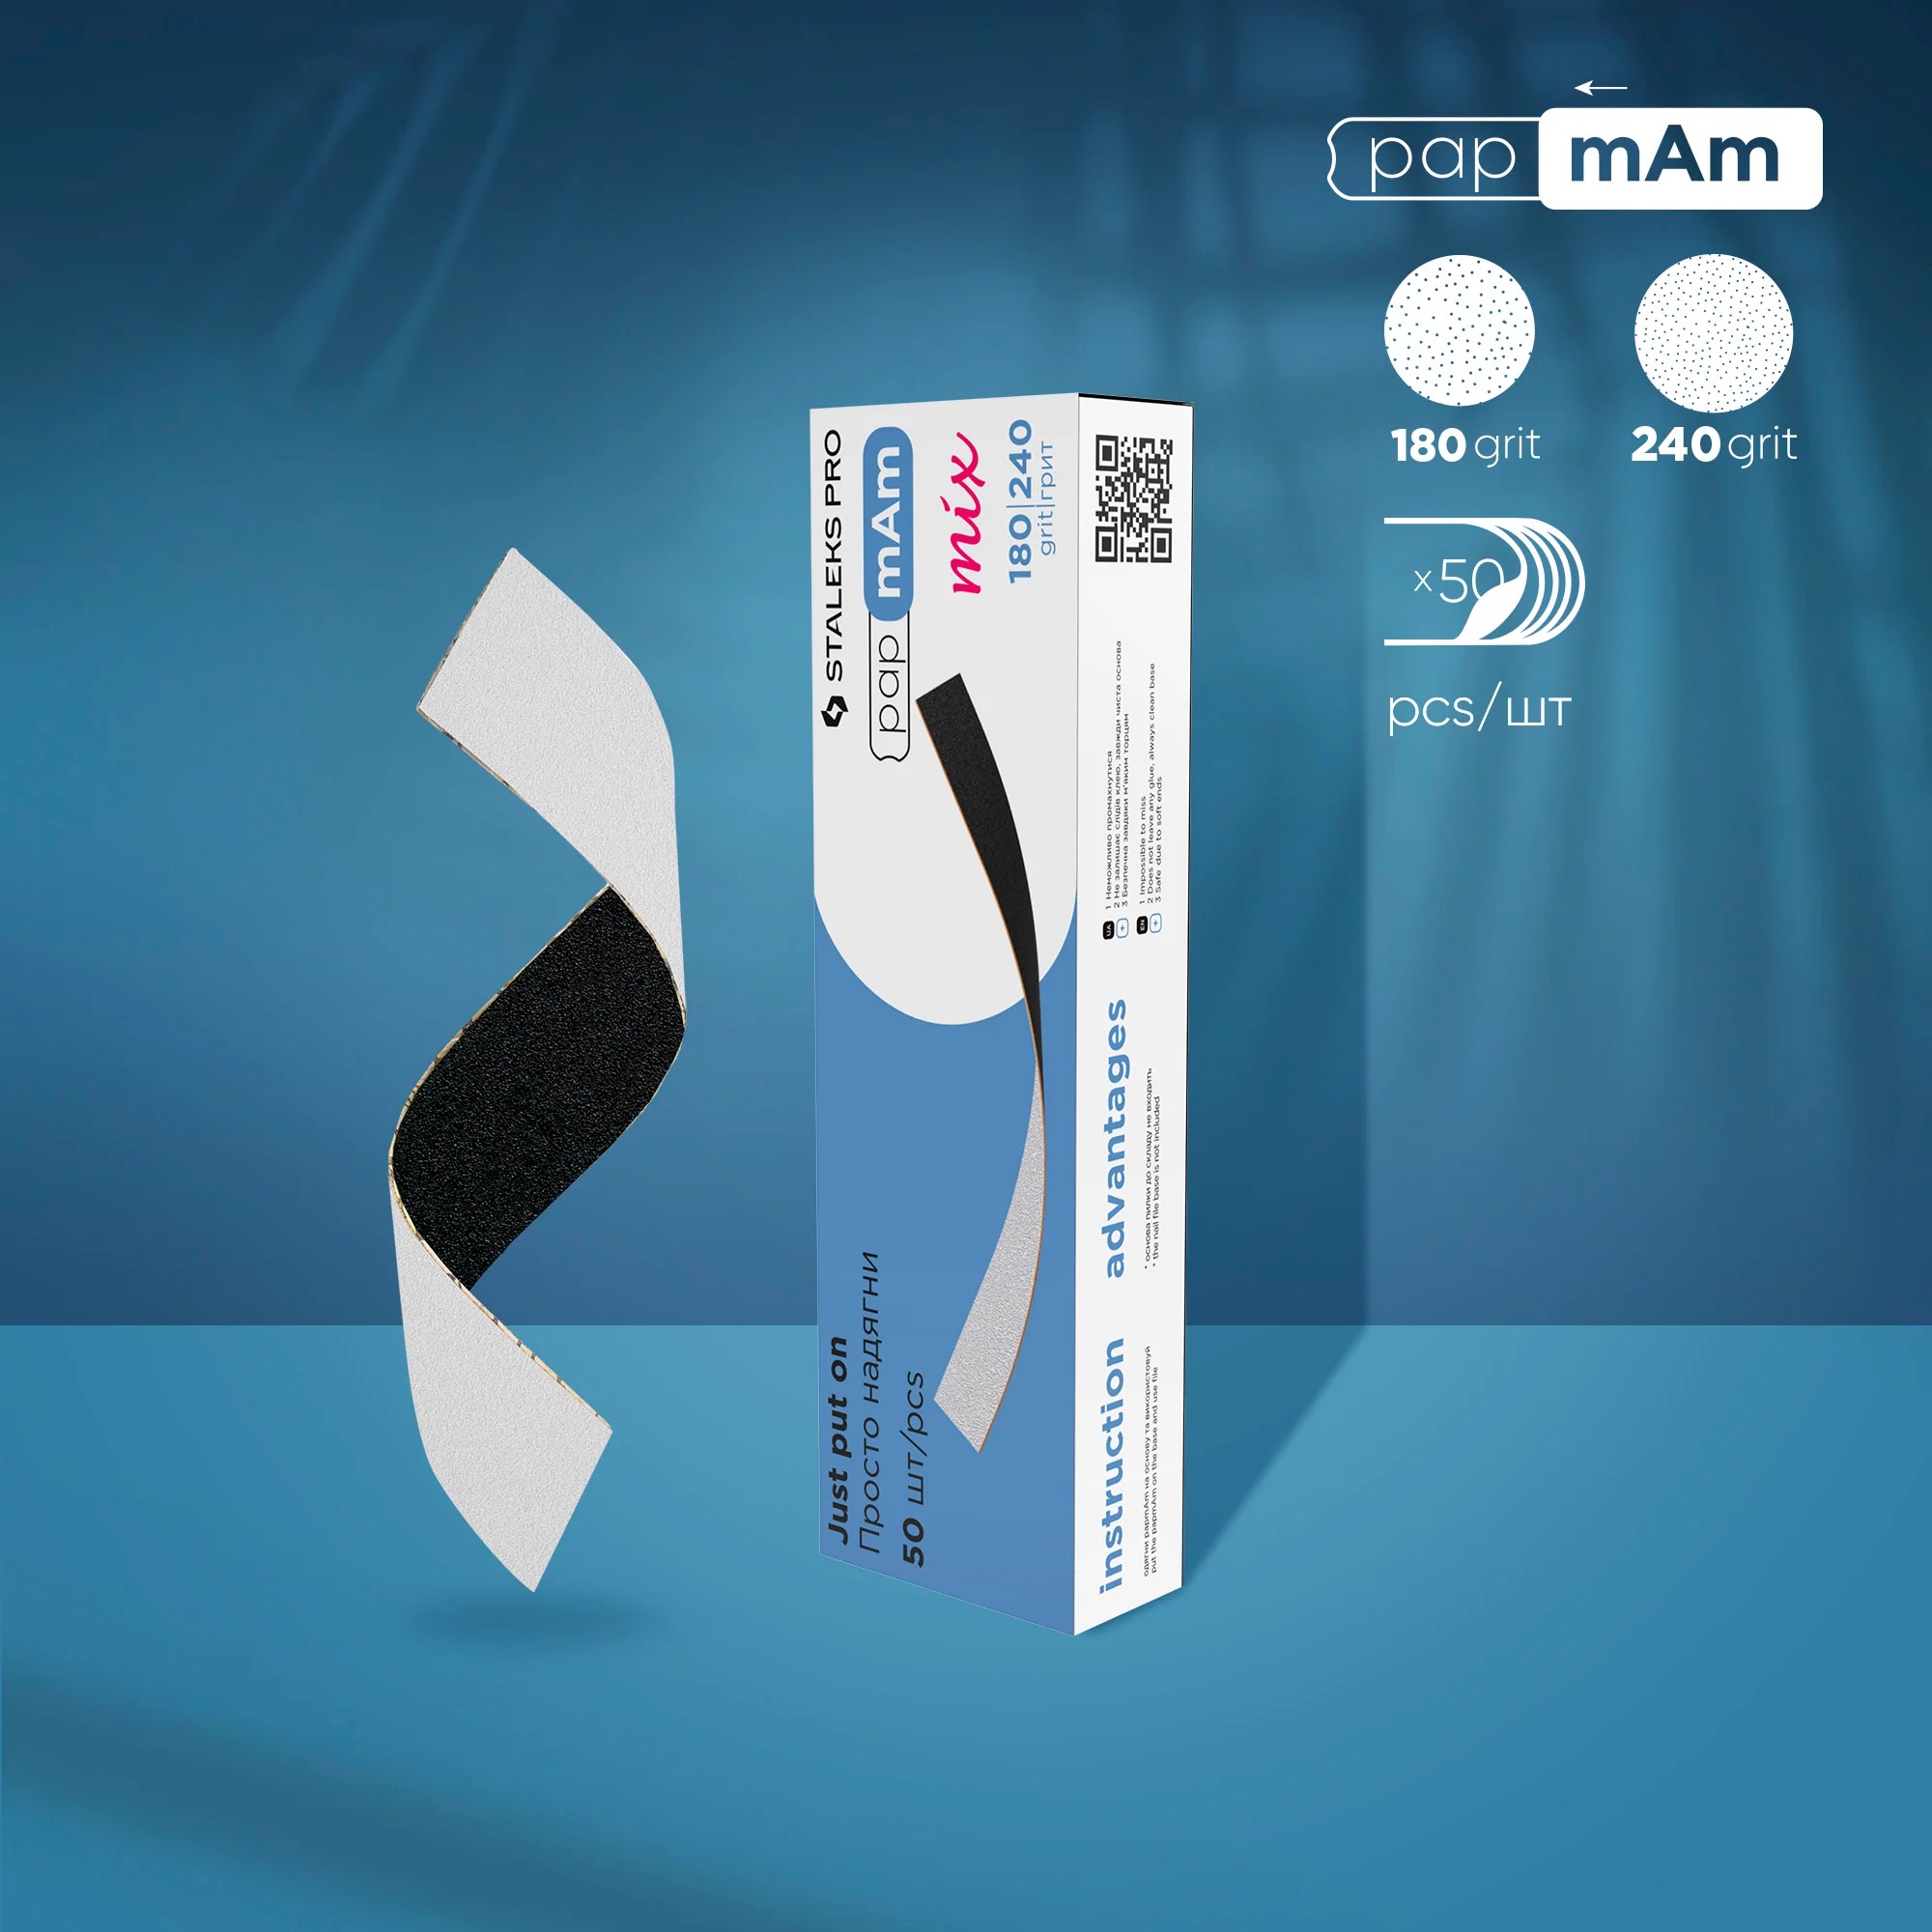
PapmAm 180|240 double-sided files - Staleks pro
Remove any sawdust and oil residue. Incomplete degreasing may distort the assessment of the nail’s actual condition during the next stage.
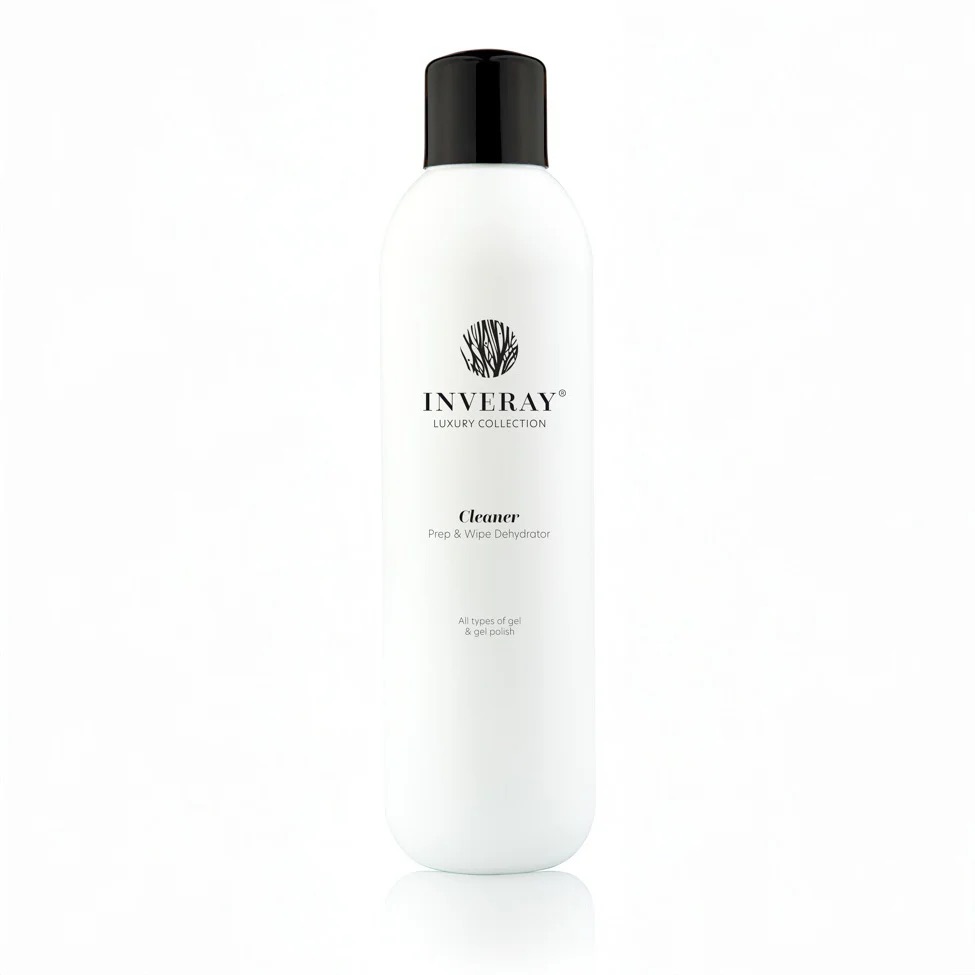
Cleanser Degreaser - Inveray
Before choosing a product, it is advisable to assess the condition of your nails. Thin, brittle or flaking nails: Blue Strengthening Serum. Slow growth: CUREIX Booster Q. Redness or irritation around the nail: CUREIX Clear Q.
One product is all you need: choose the remedy based on the problem identified and avoid combining several products.
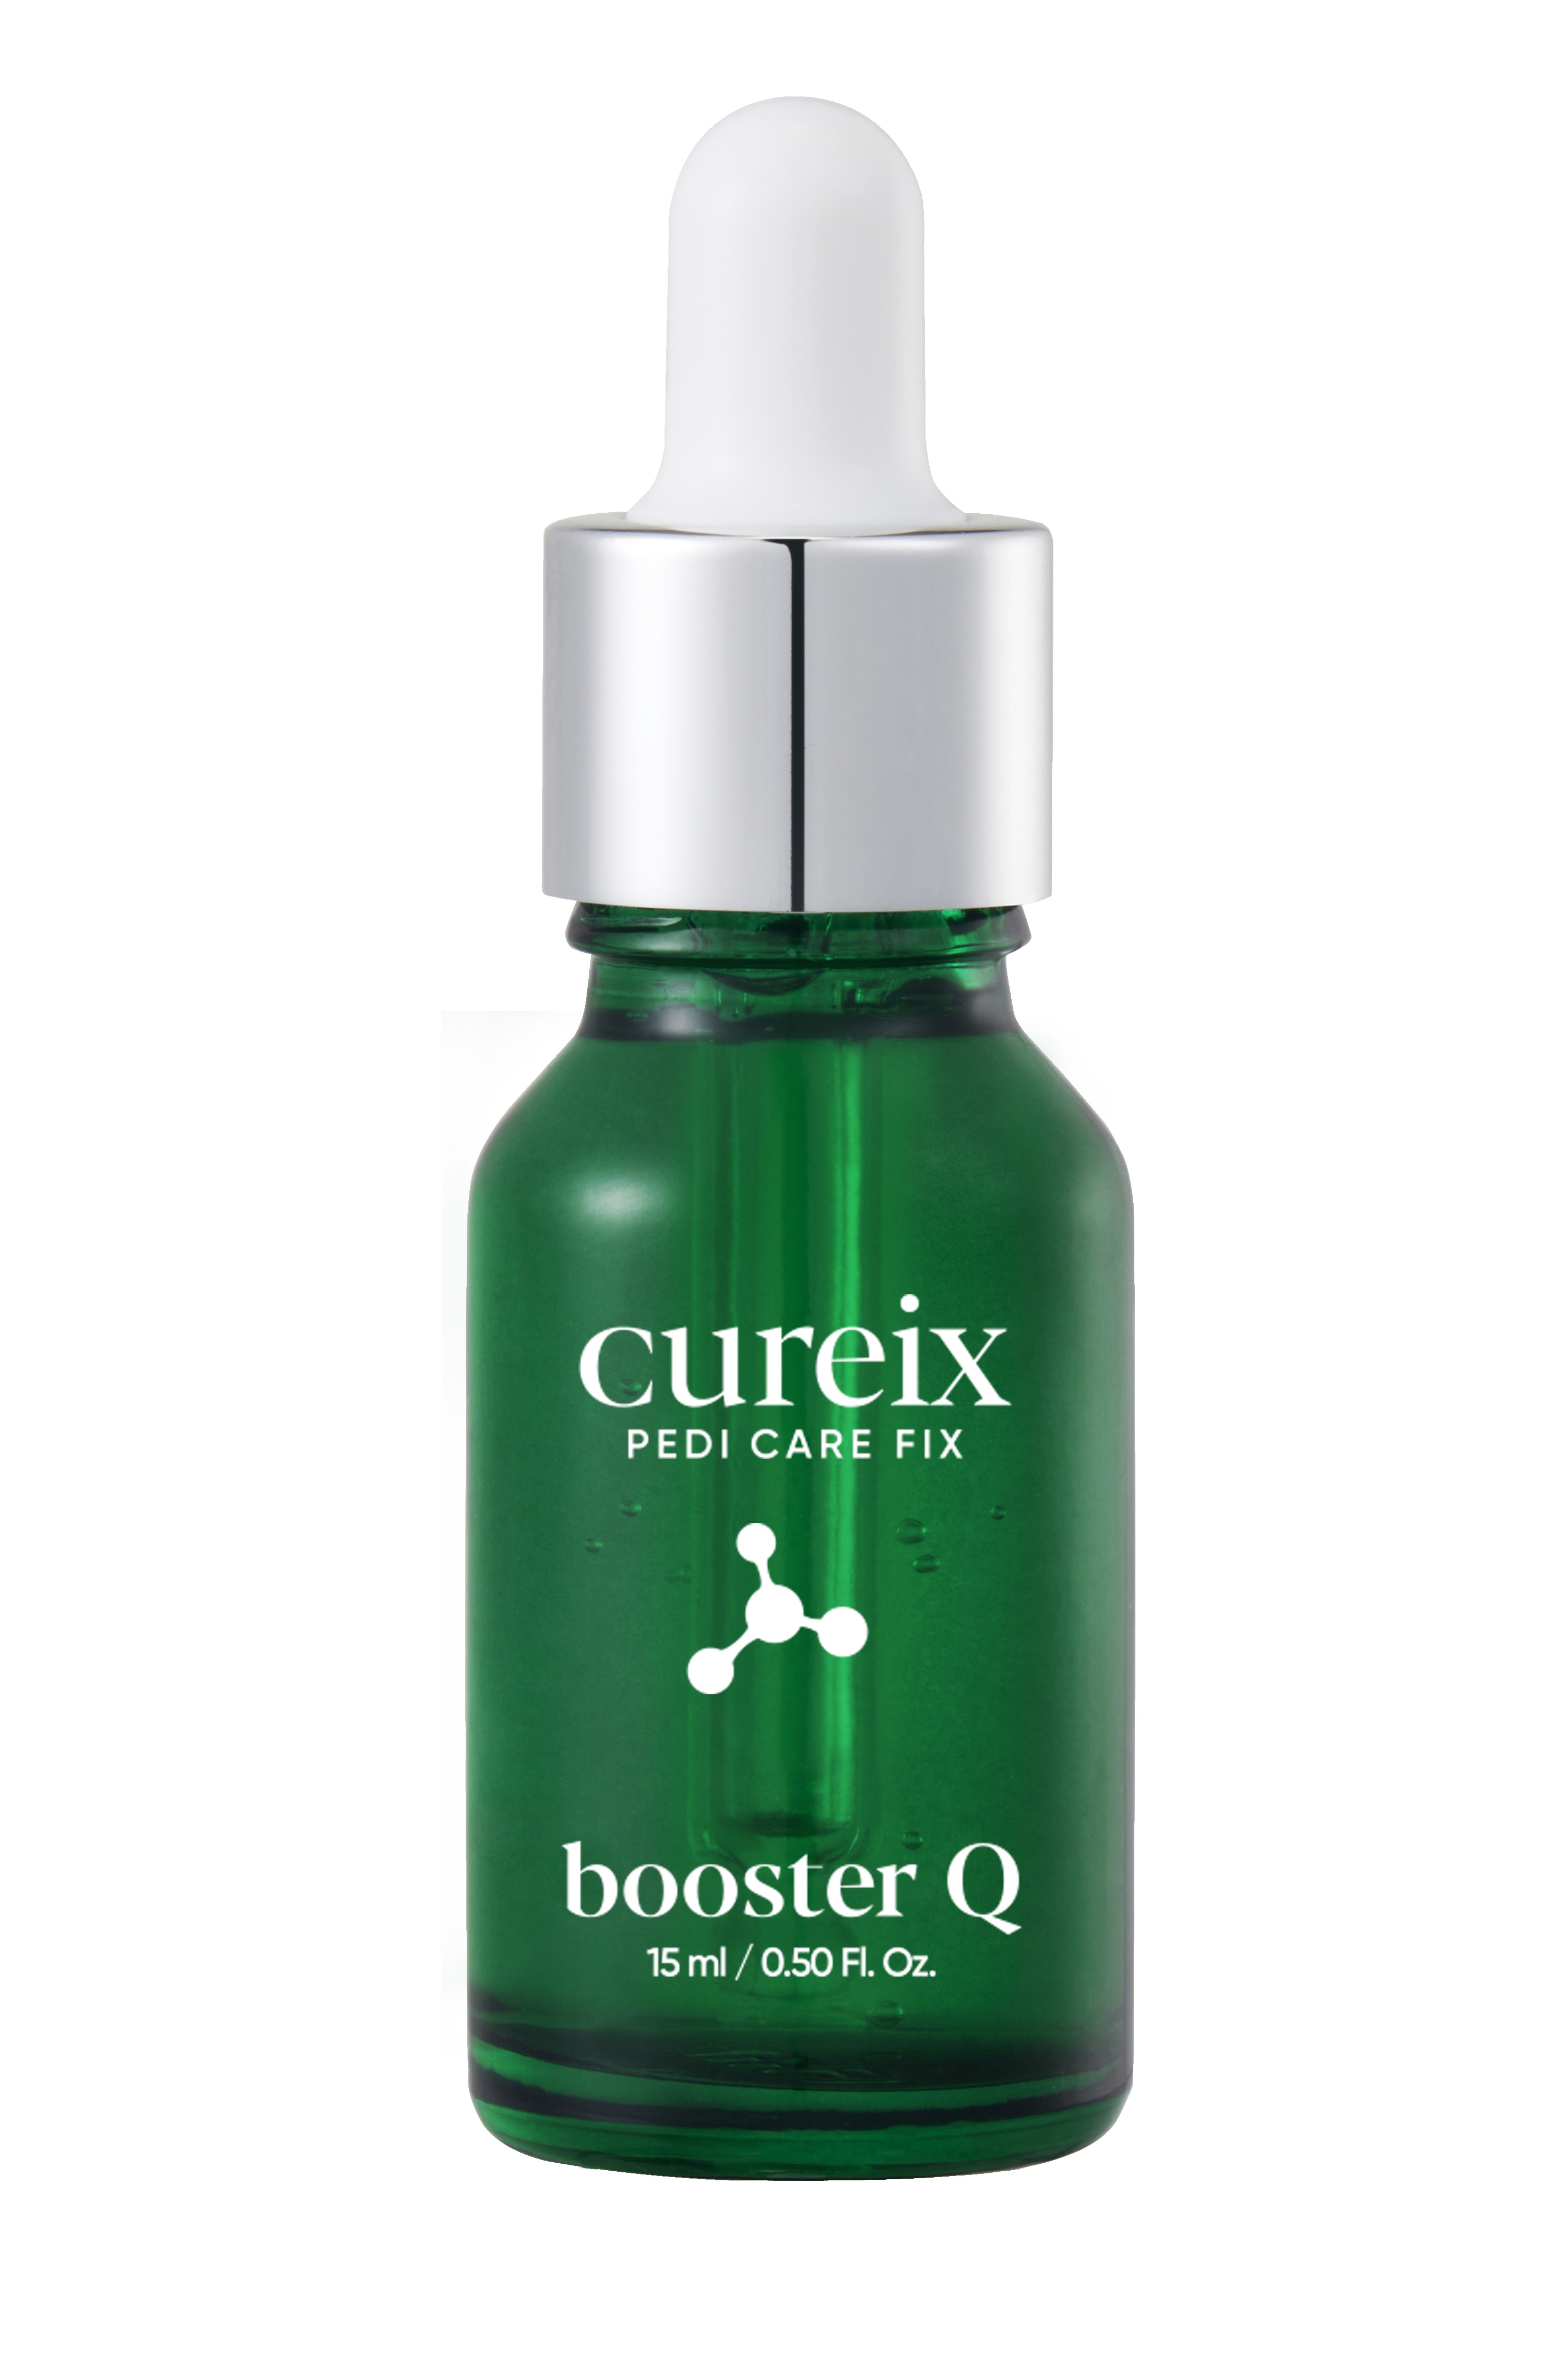
CUREIX BOOSTER Q – Nail growth serum
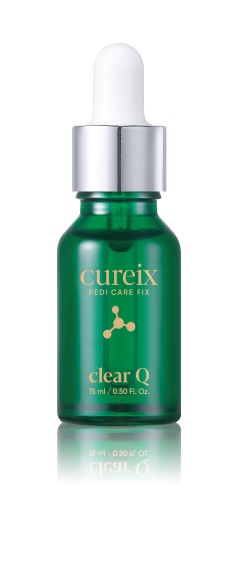
BANDI Cureix Clear Q – Sérum apaisant et purifiant pour ongles incarnés, 15 ml
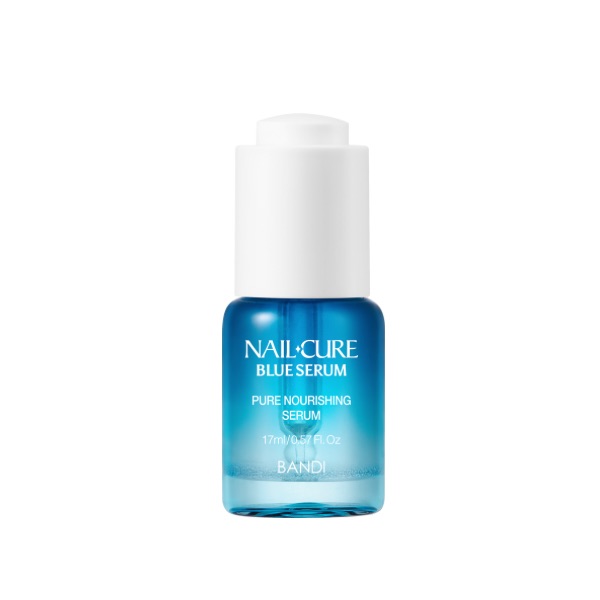
BANDI NAILCURE BLUE SERUM – Sérum fortifiant pour ongles et cuticules
If you’re leaving your nails uncoated, finish the treatment by applying a strengthening nail varnish. This seals the surface, reduces the risk of dehydration and shows off the results of your work: it’s precisely this that will make you want to repeat this treatment at home.
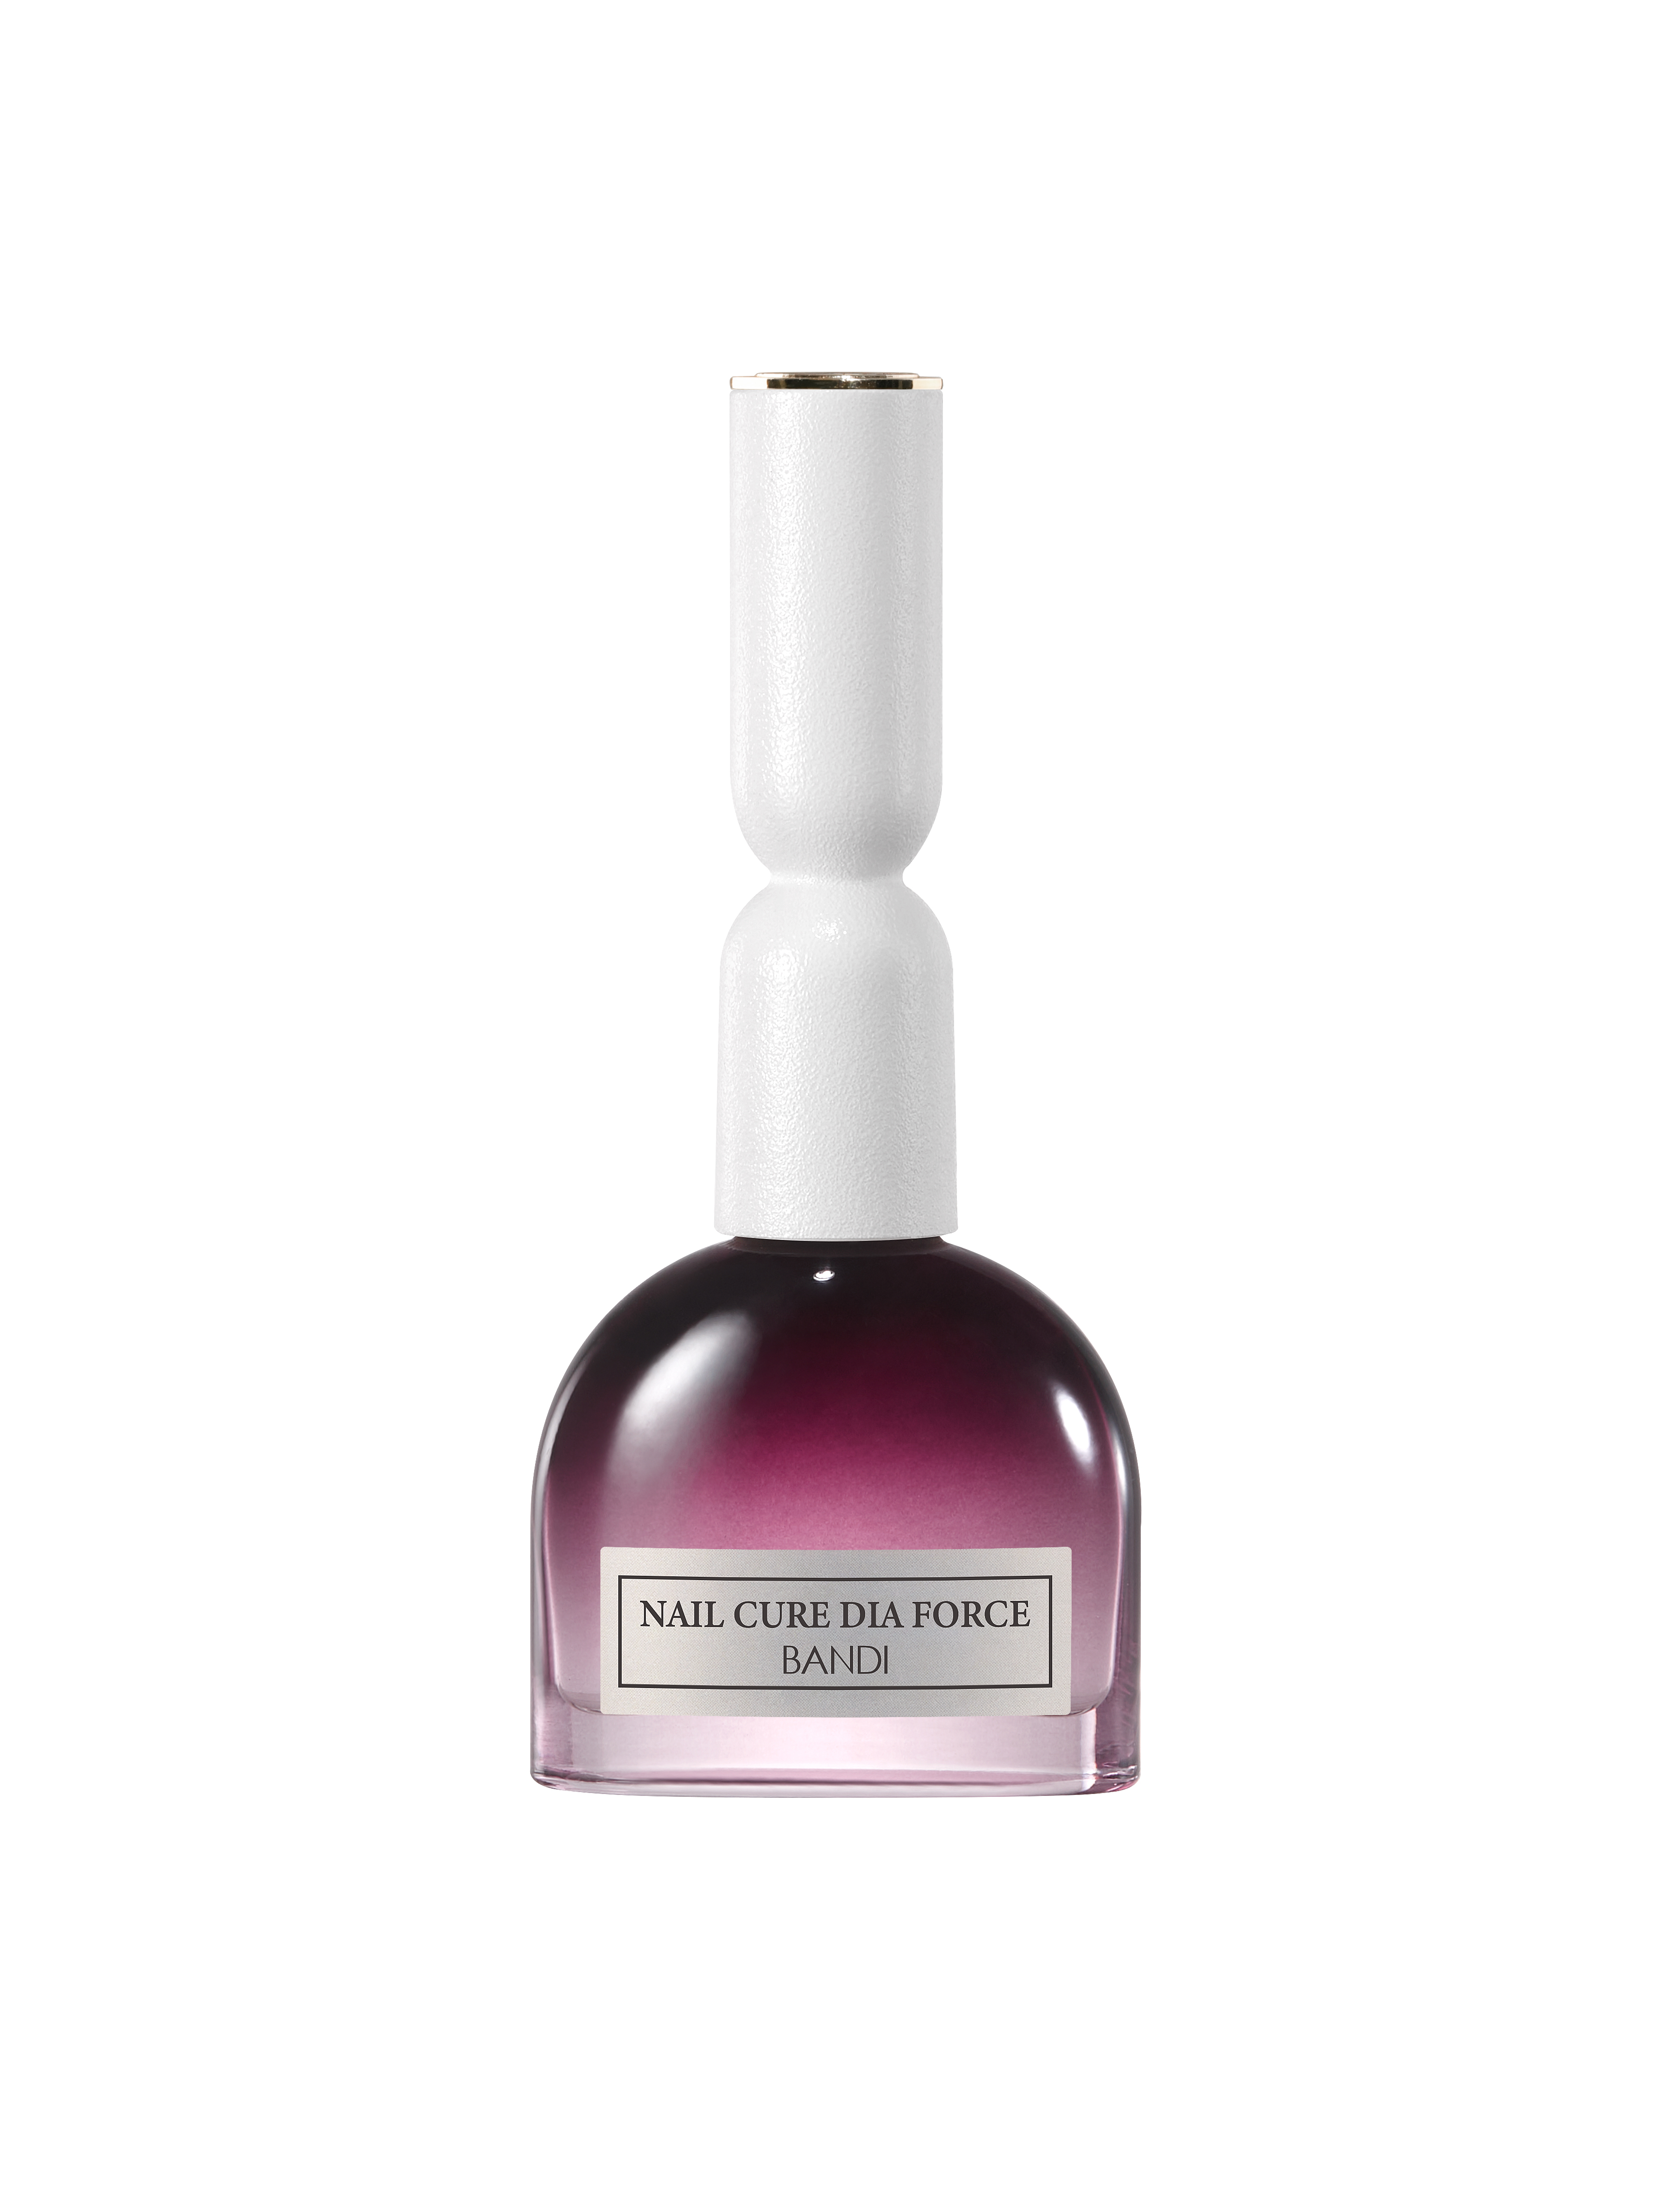
Vernis de soin fortifiant NAIL CURE DIA FORCE – BANDI
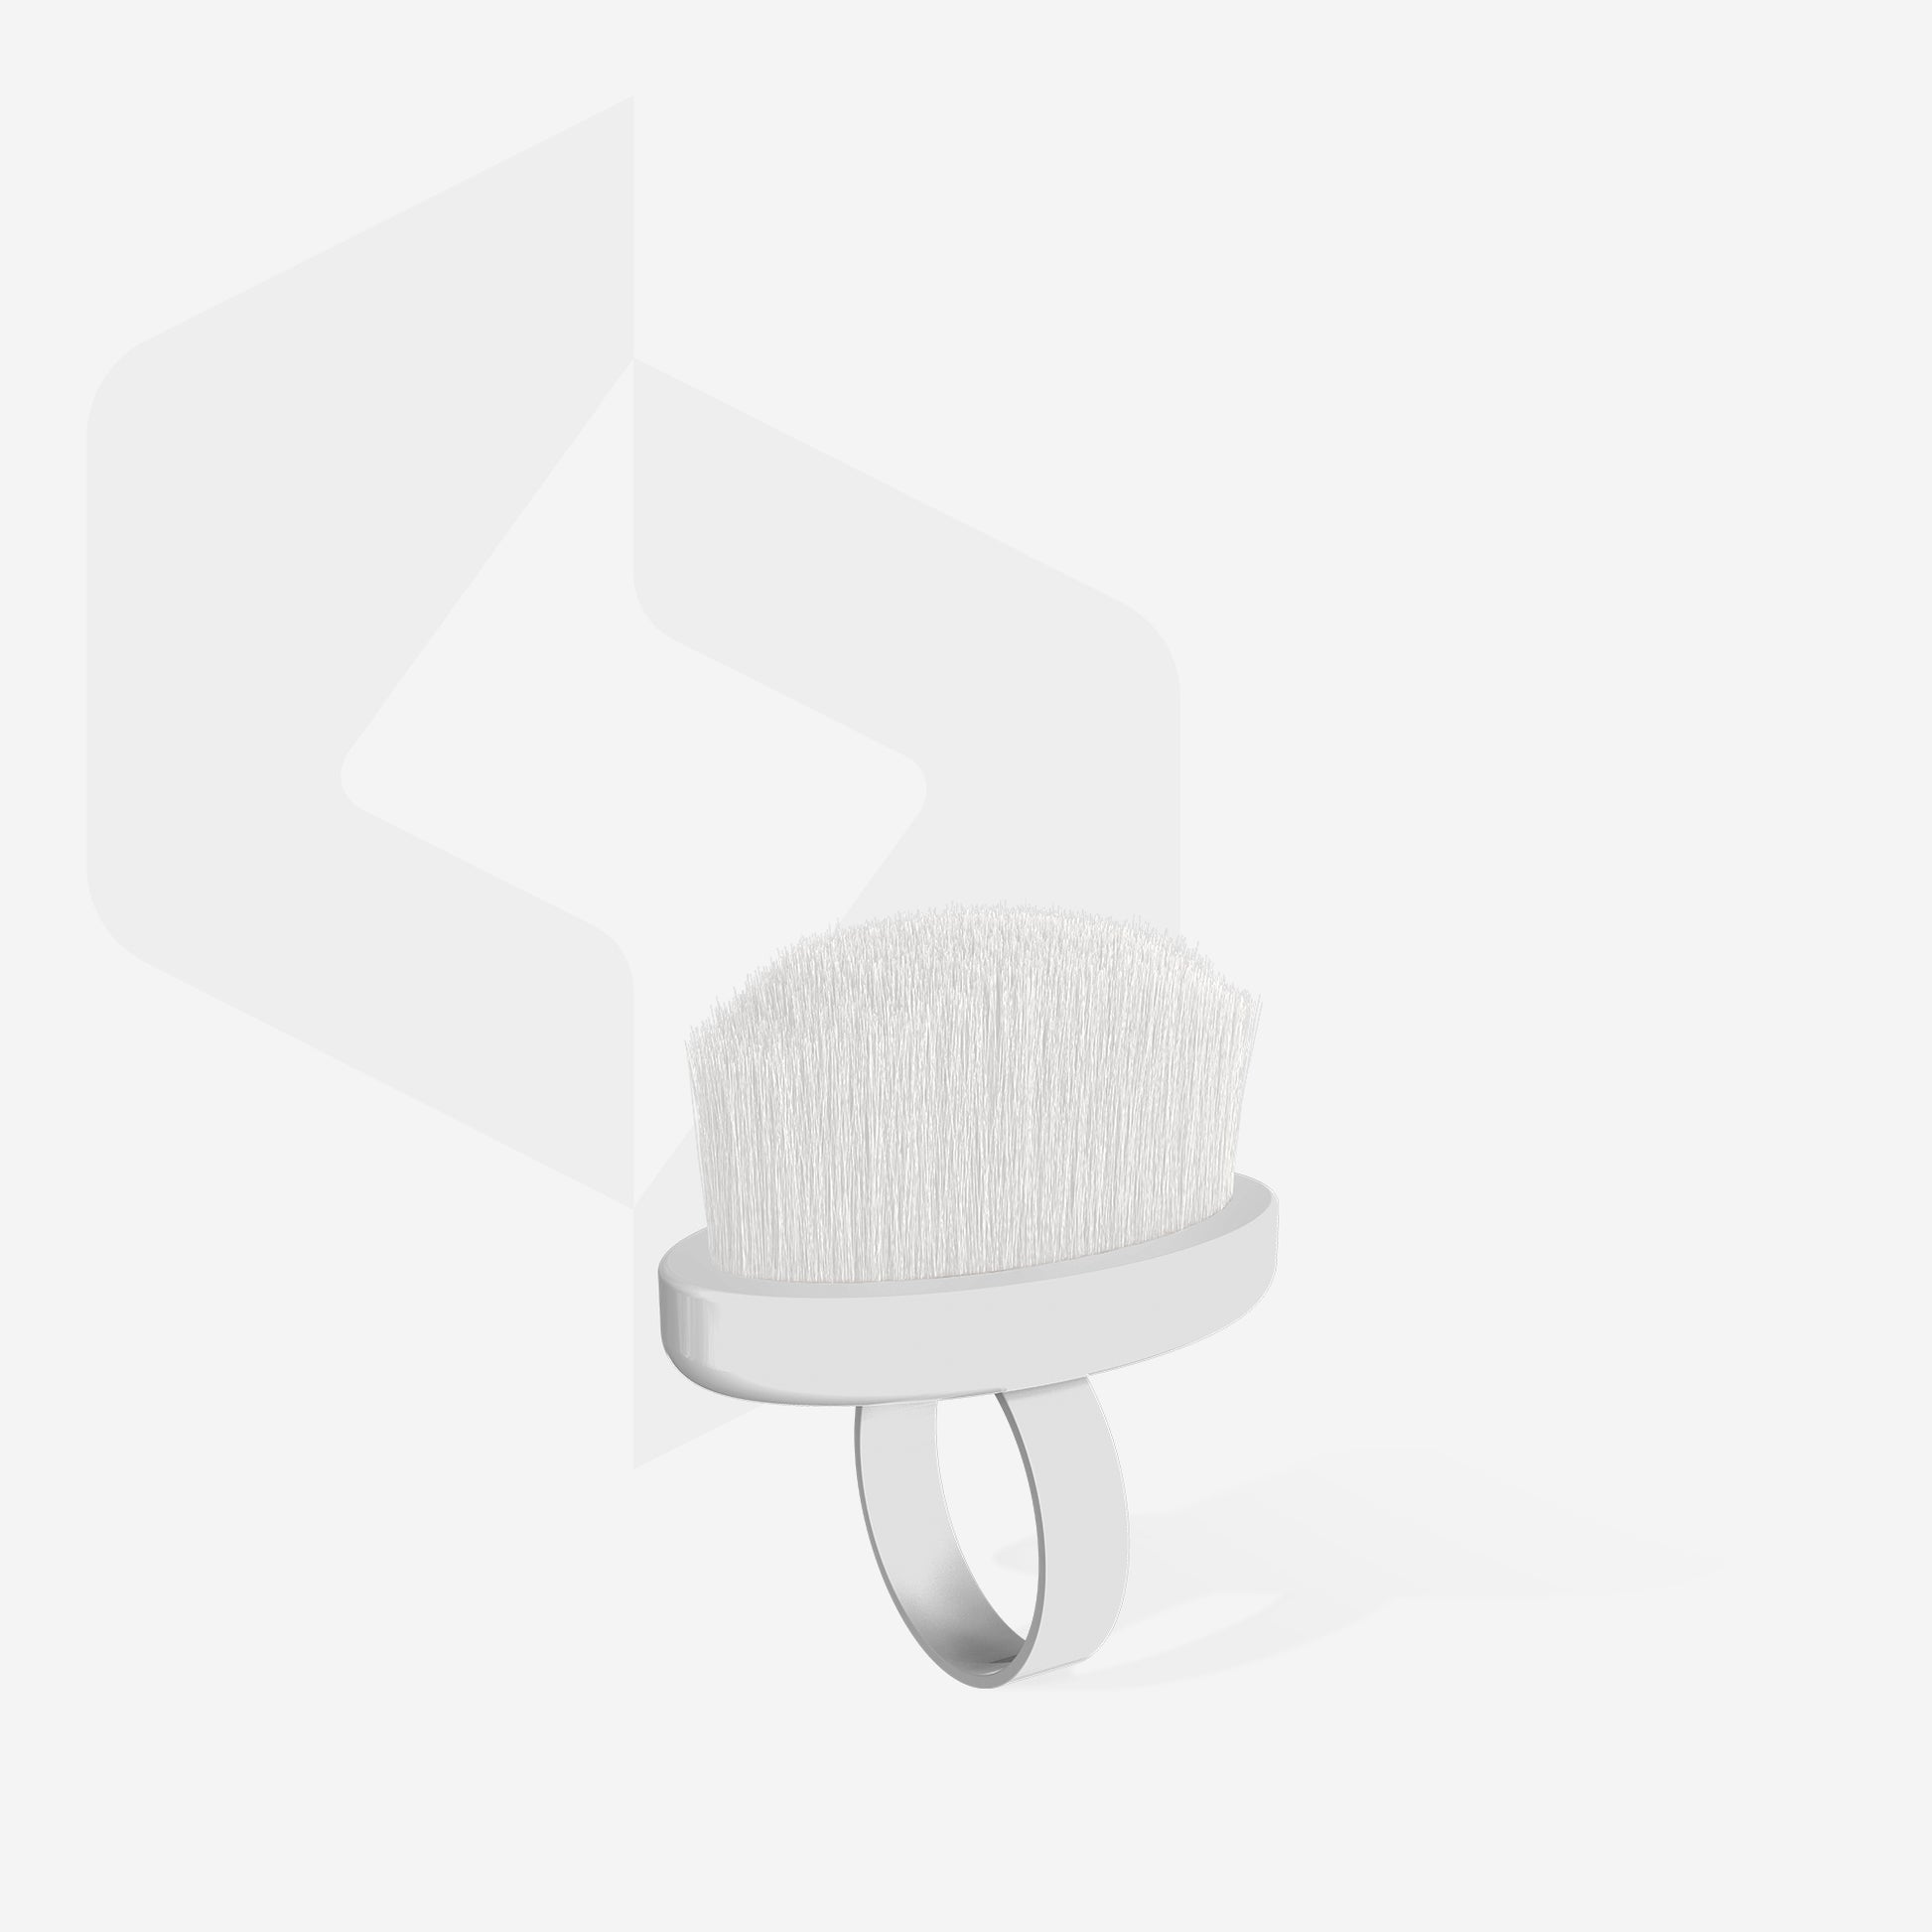
STALEKS EXPERT 03 Mini Manicure Brush Ring for removing dust from nails (10 pieces)
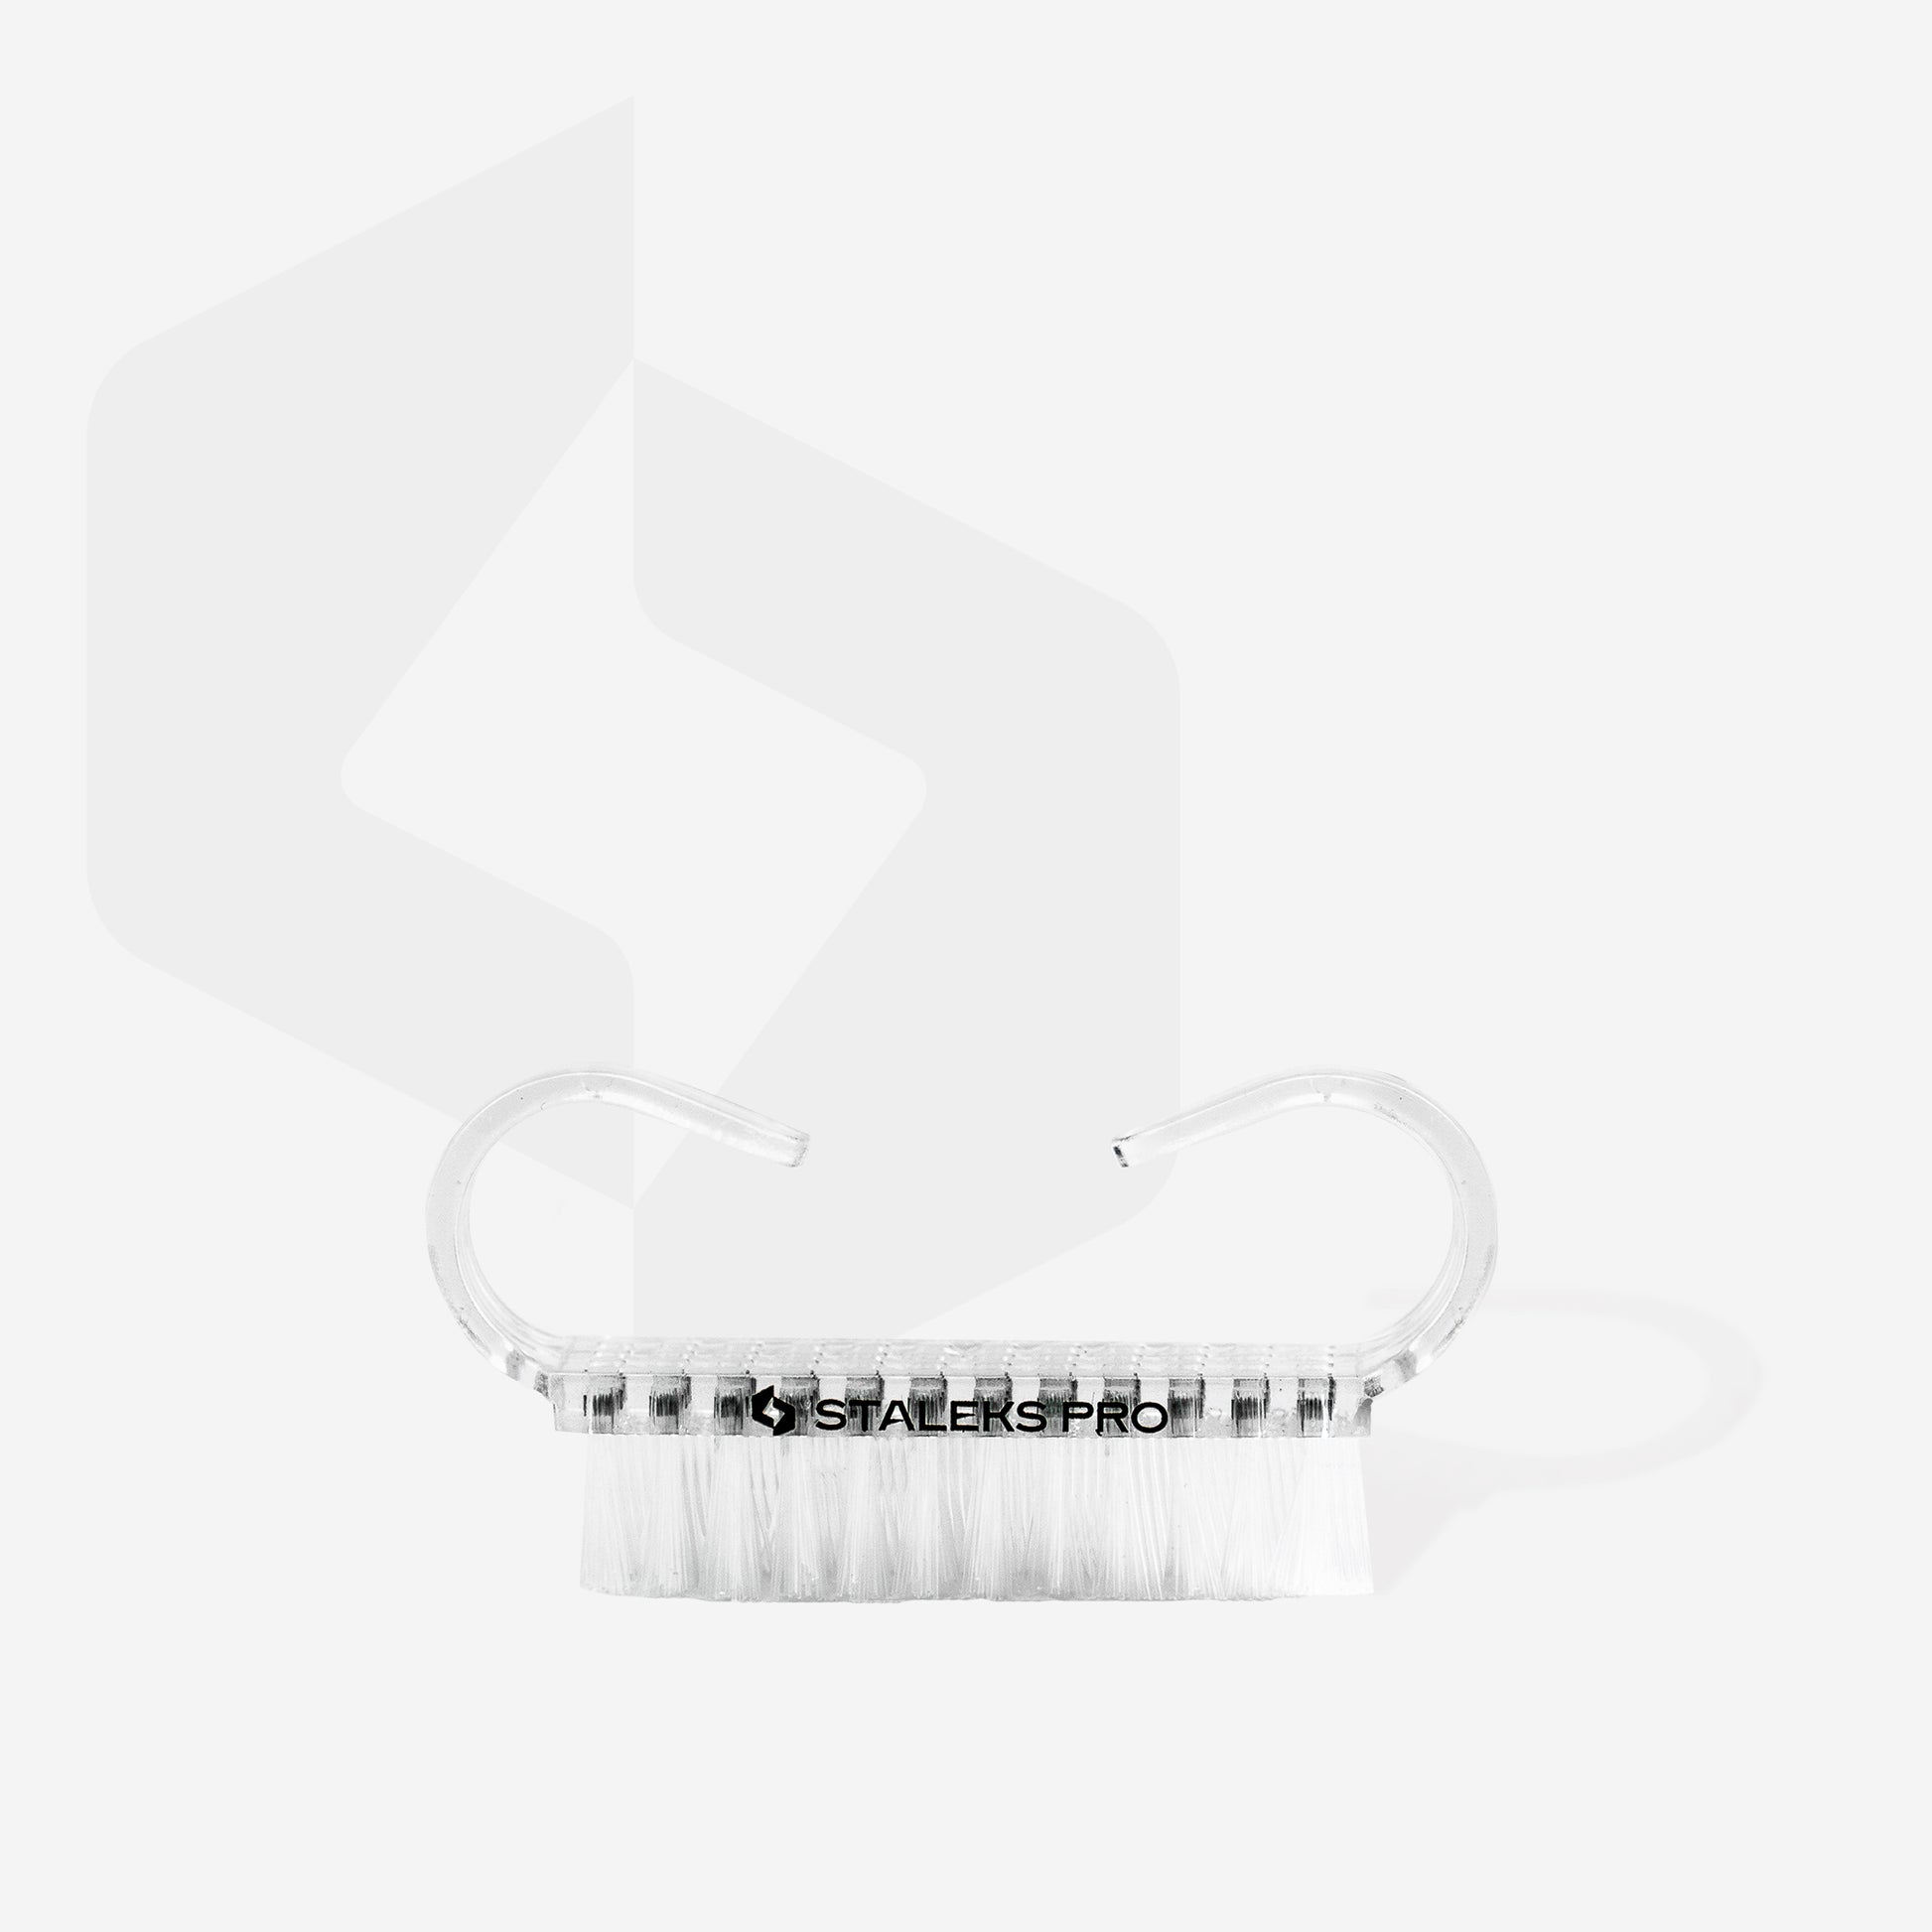
STALEKS EXPERT 02 manicure brush for removing dust from nails (10 pieces)
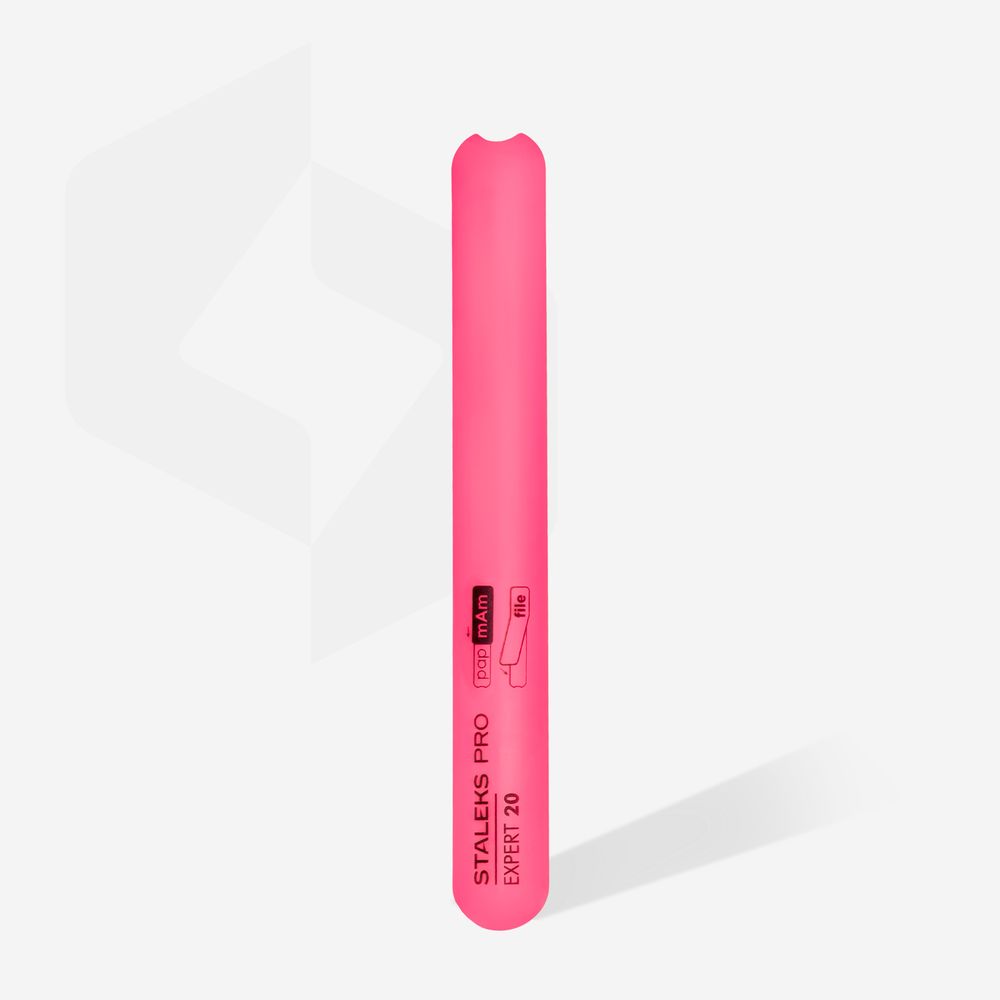
Angled plastic base for file – Staleks Pro Expert 20
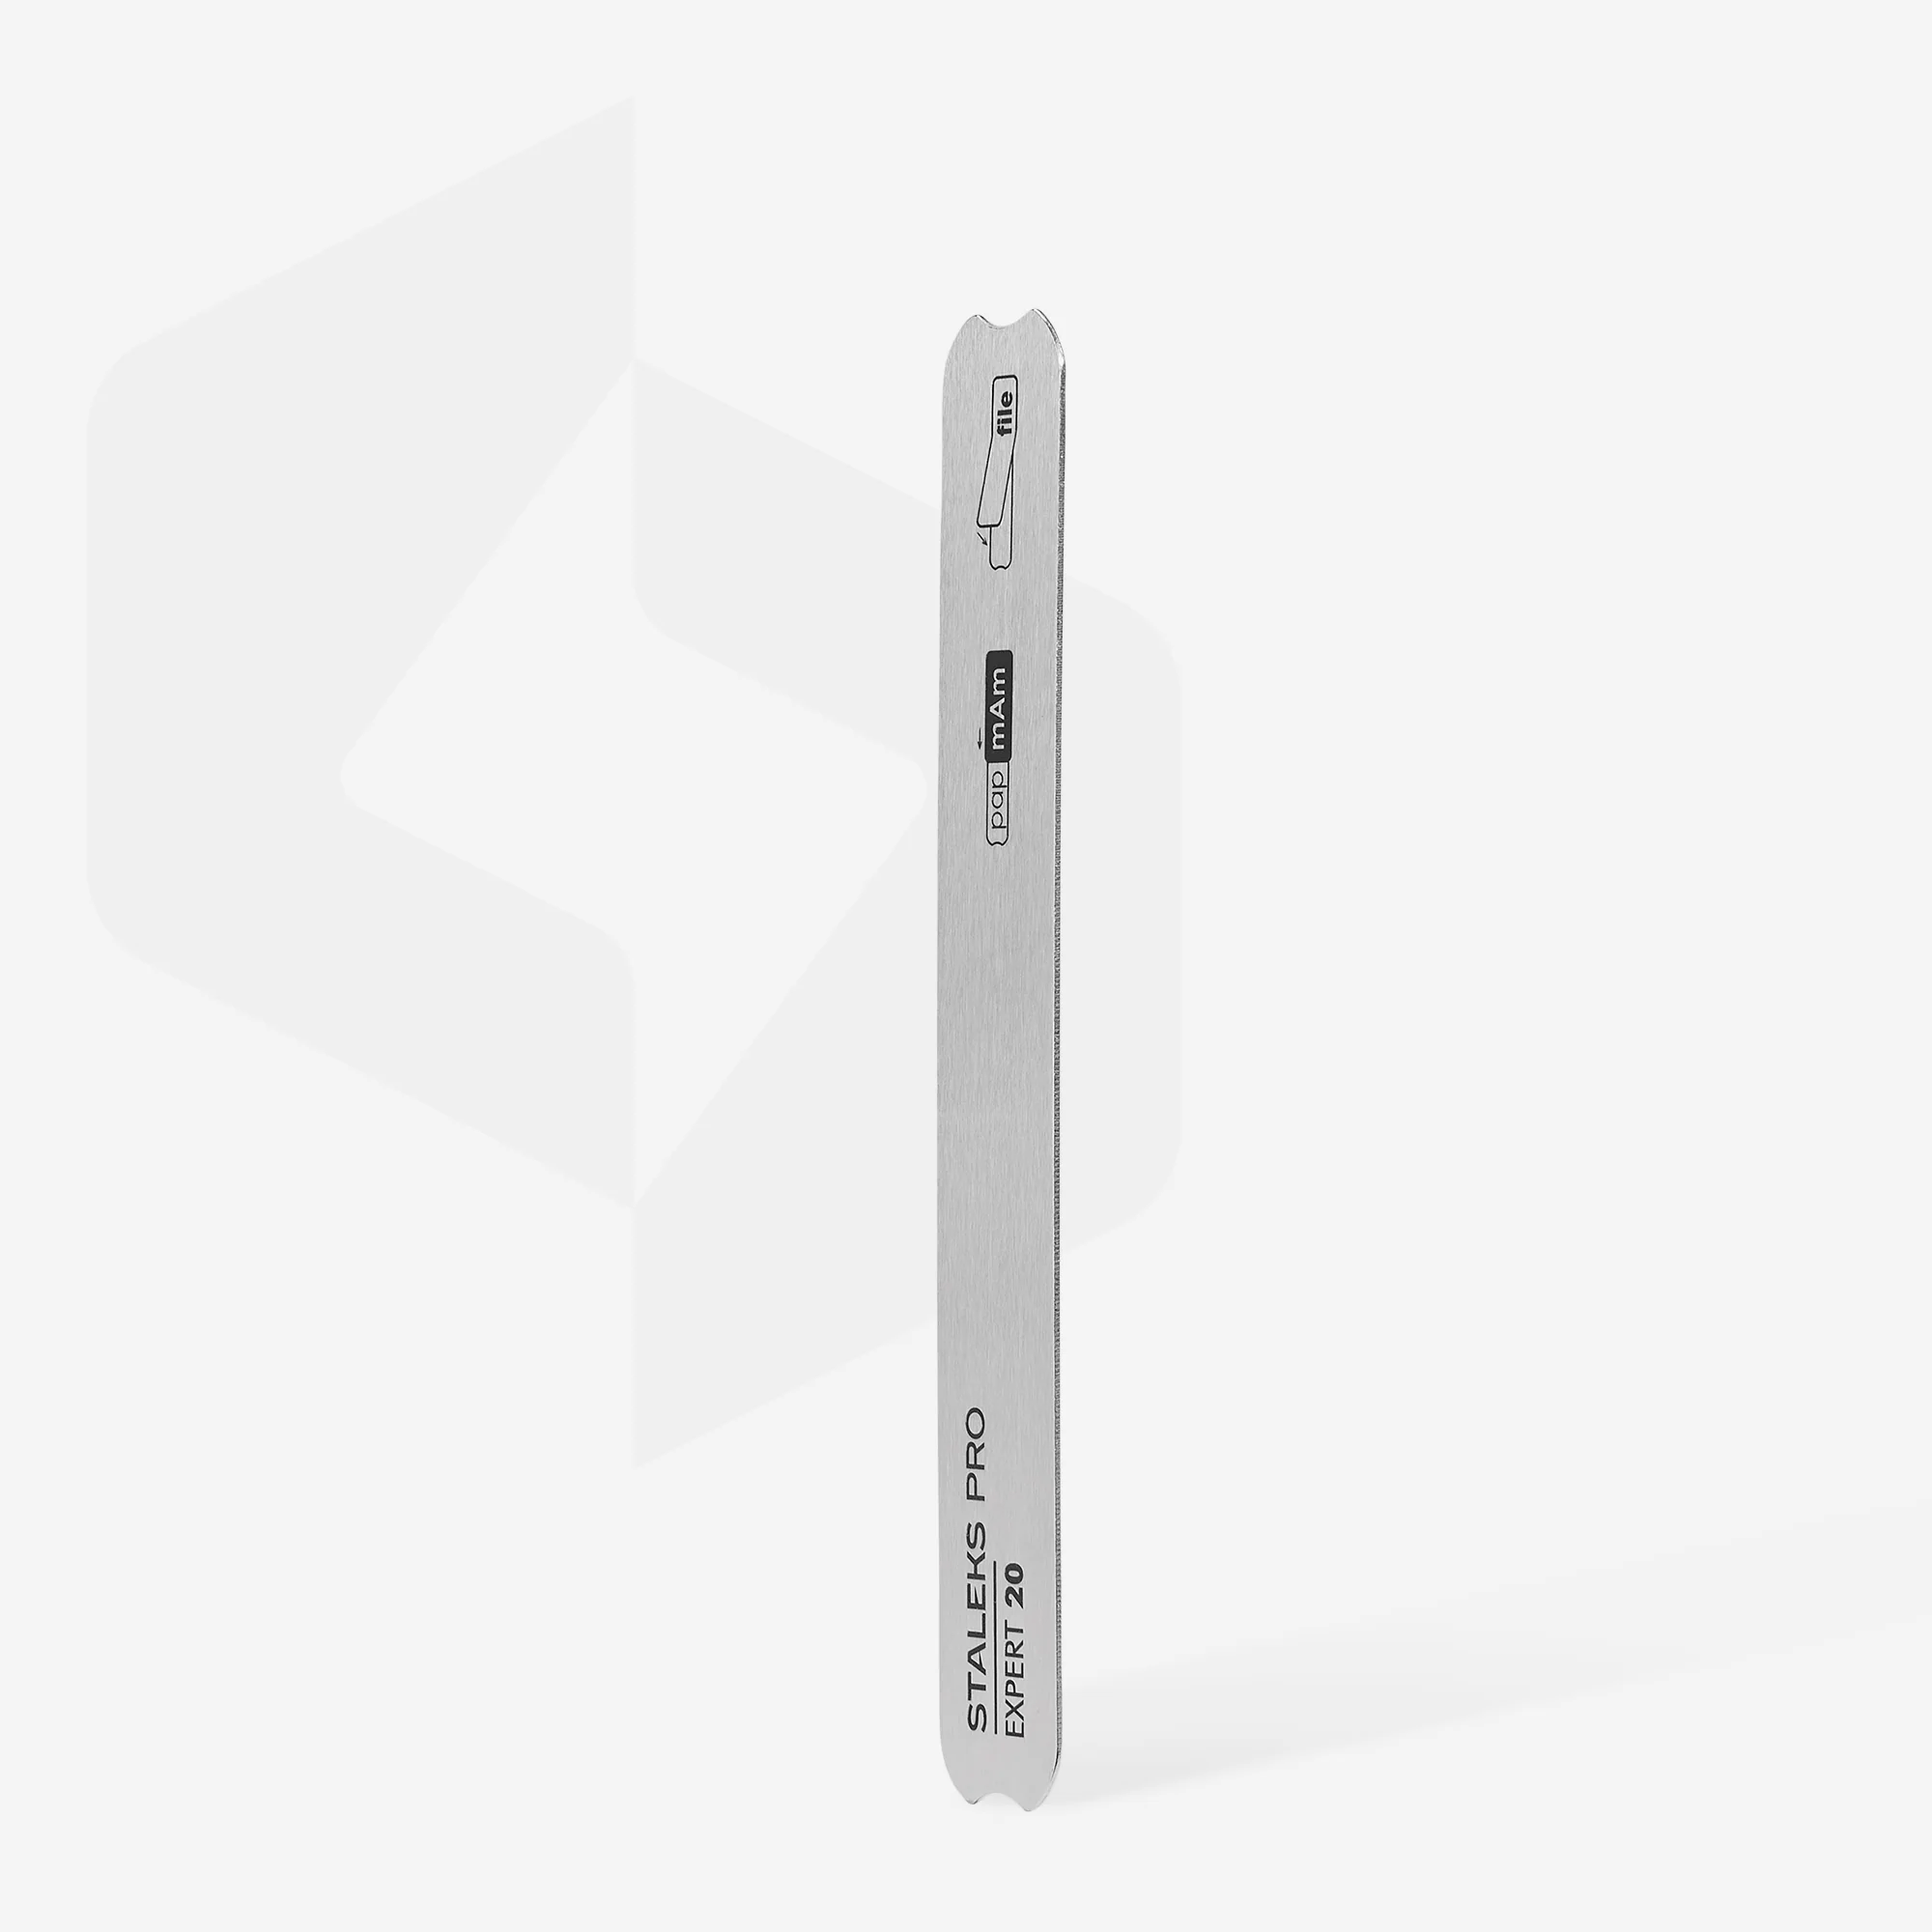
Metal base for straight nail file Staleks Pro Expert 20
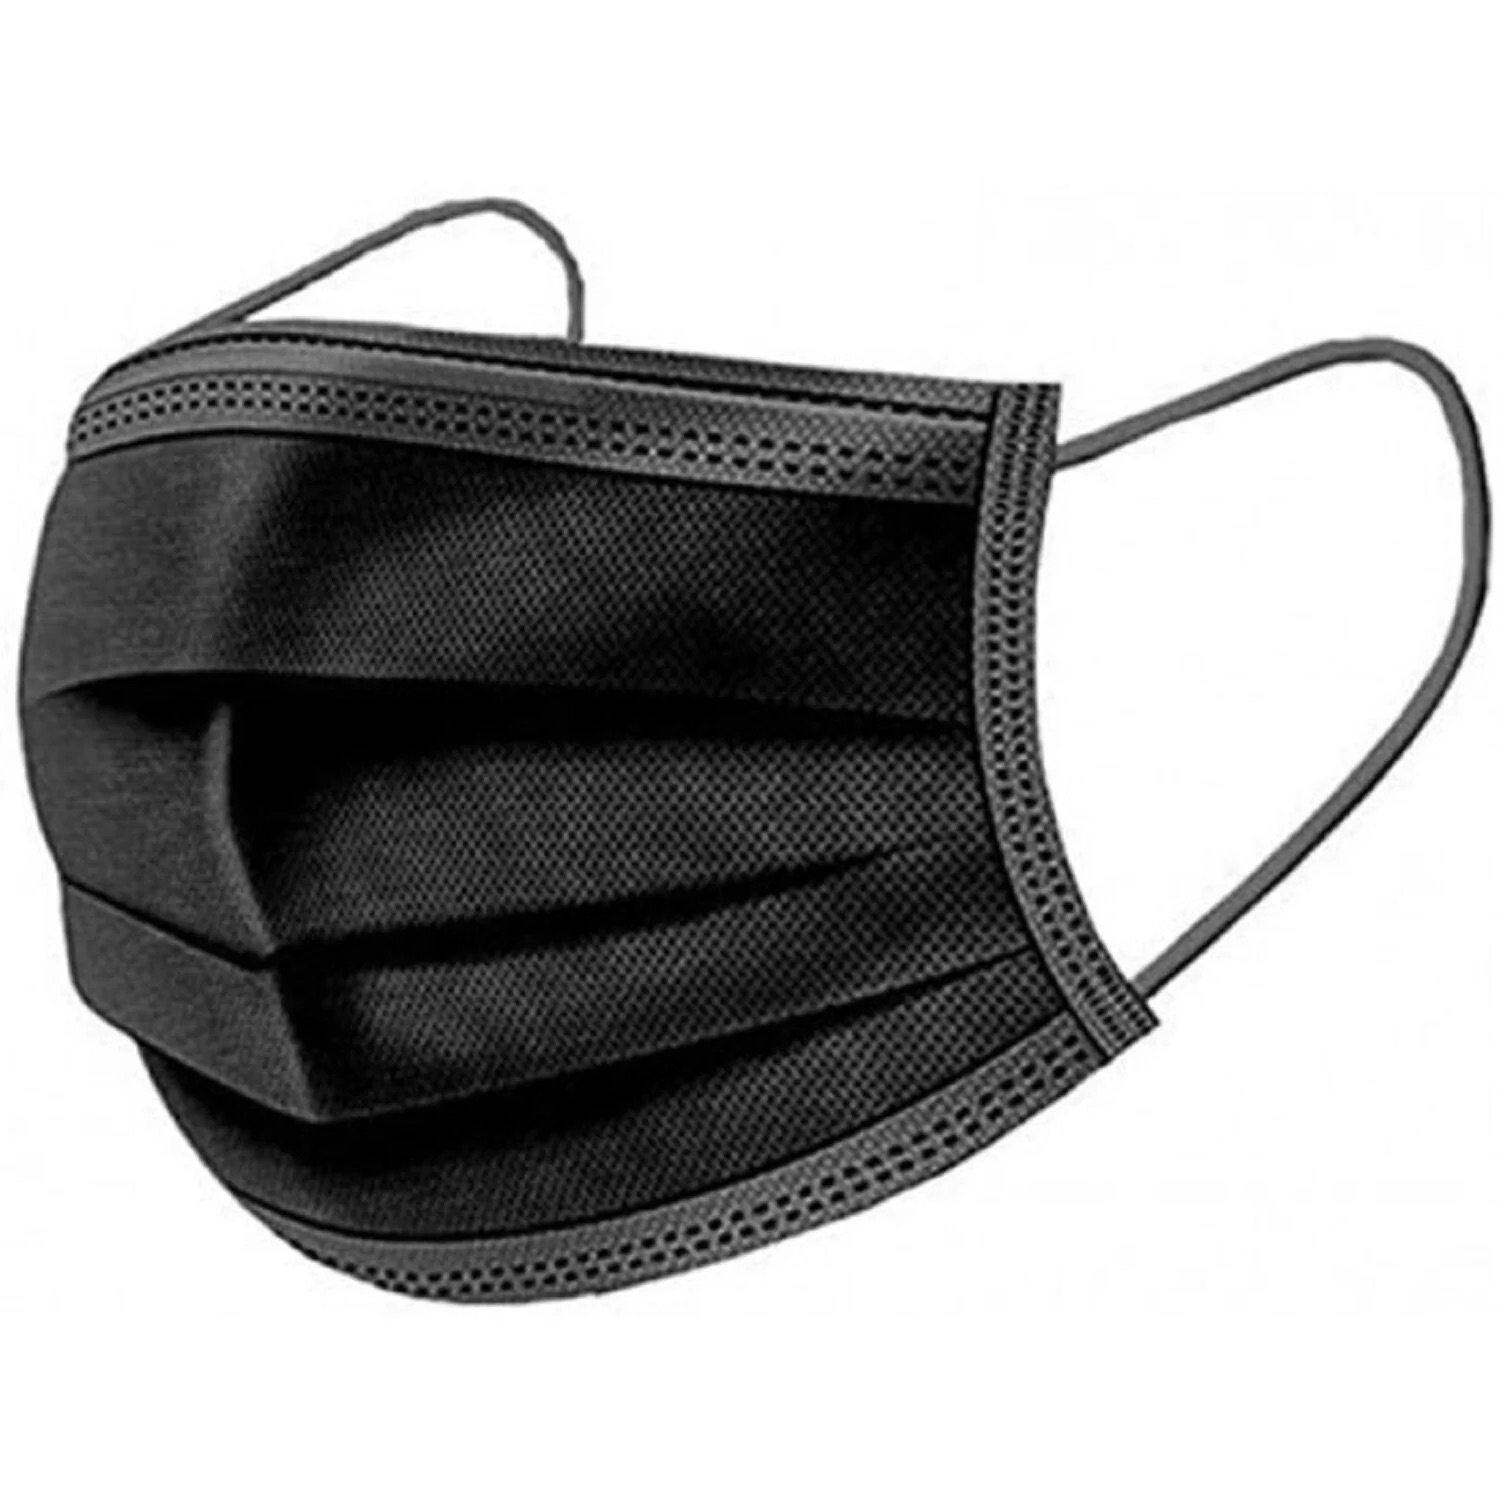
Black surgical mask – Opharm, 50 pcs
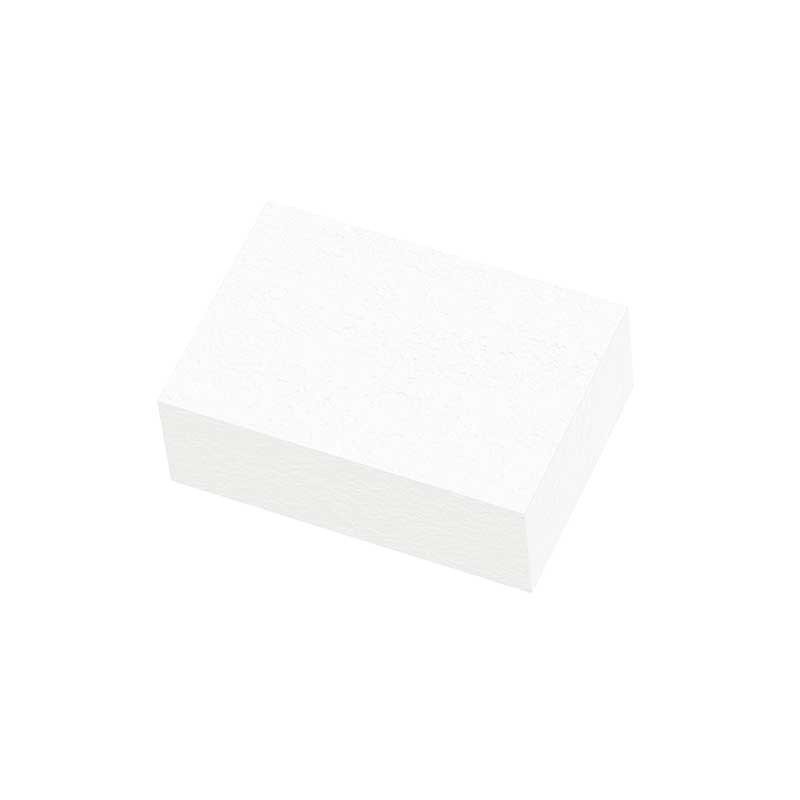
Rectangular Buffer mini EXPERT 51 100/180 (50 pcs) - Staleks pro
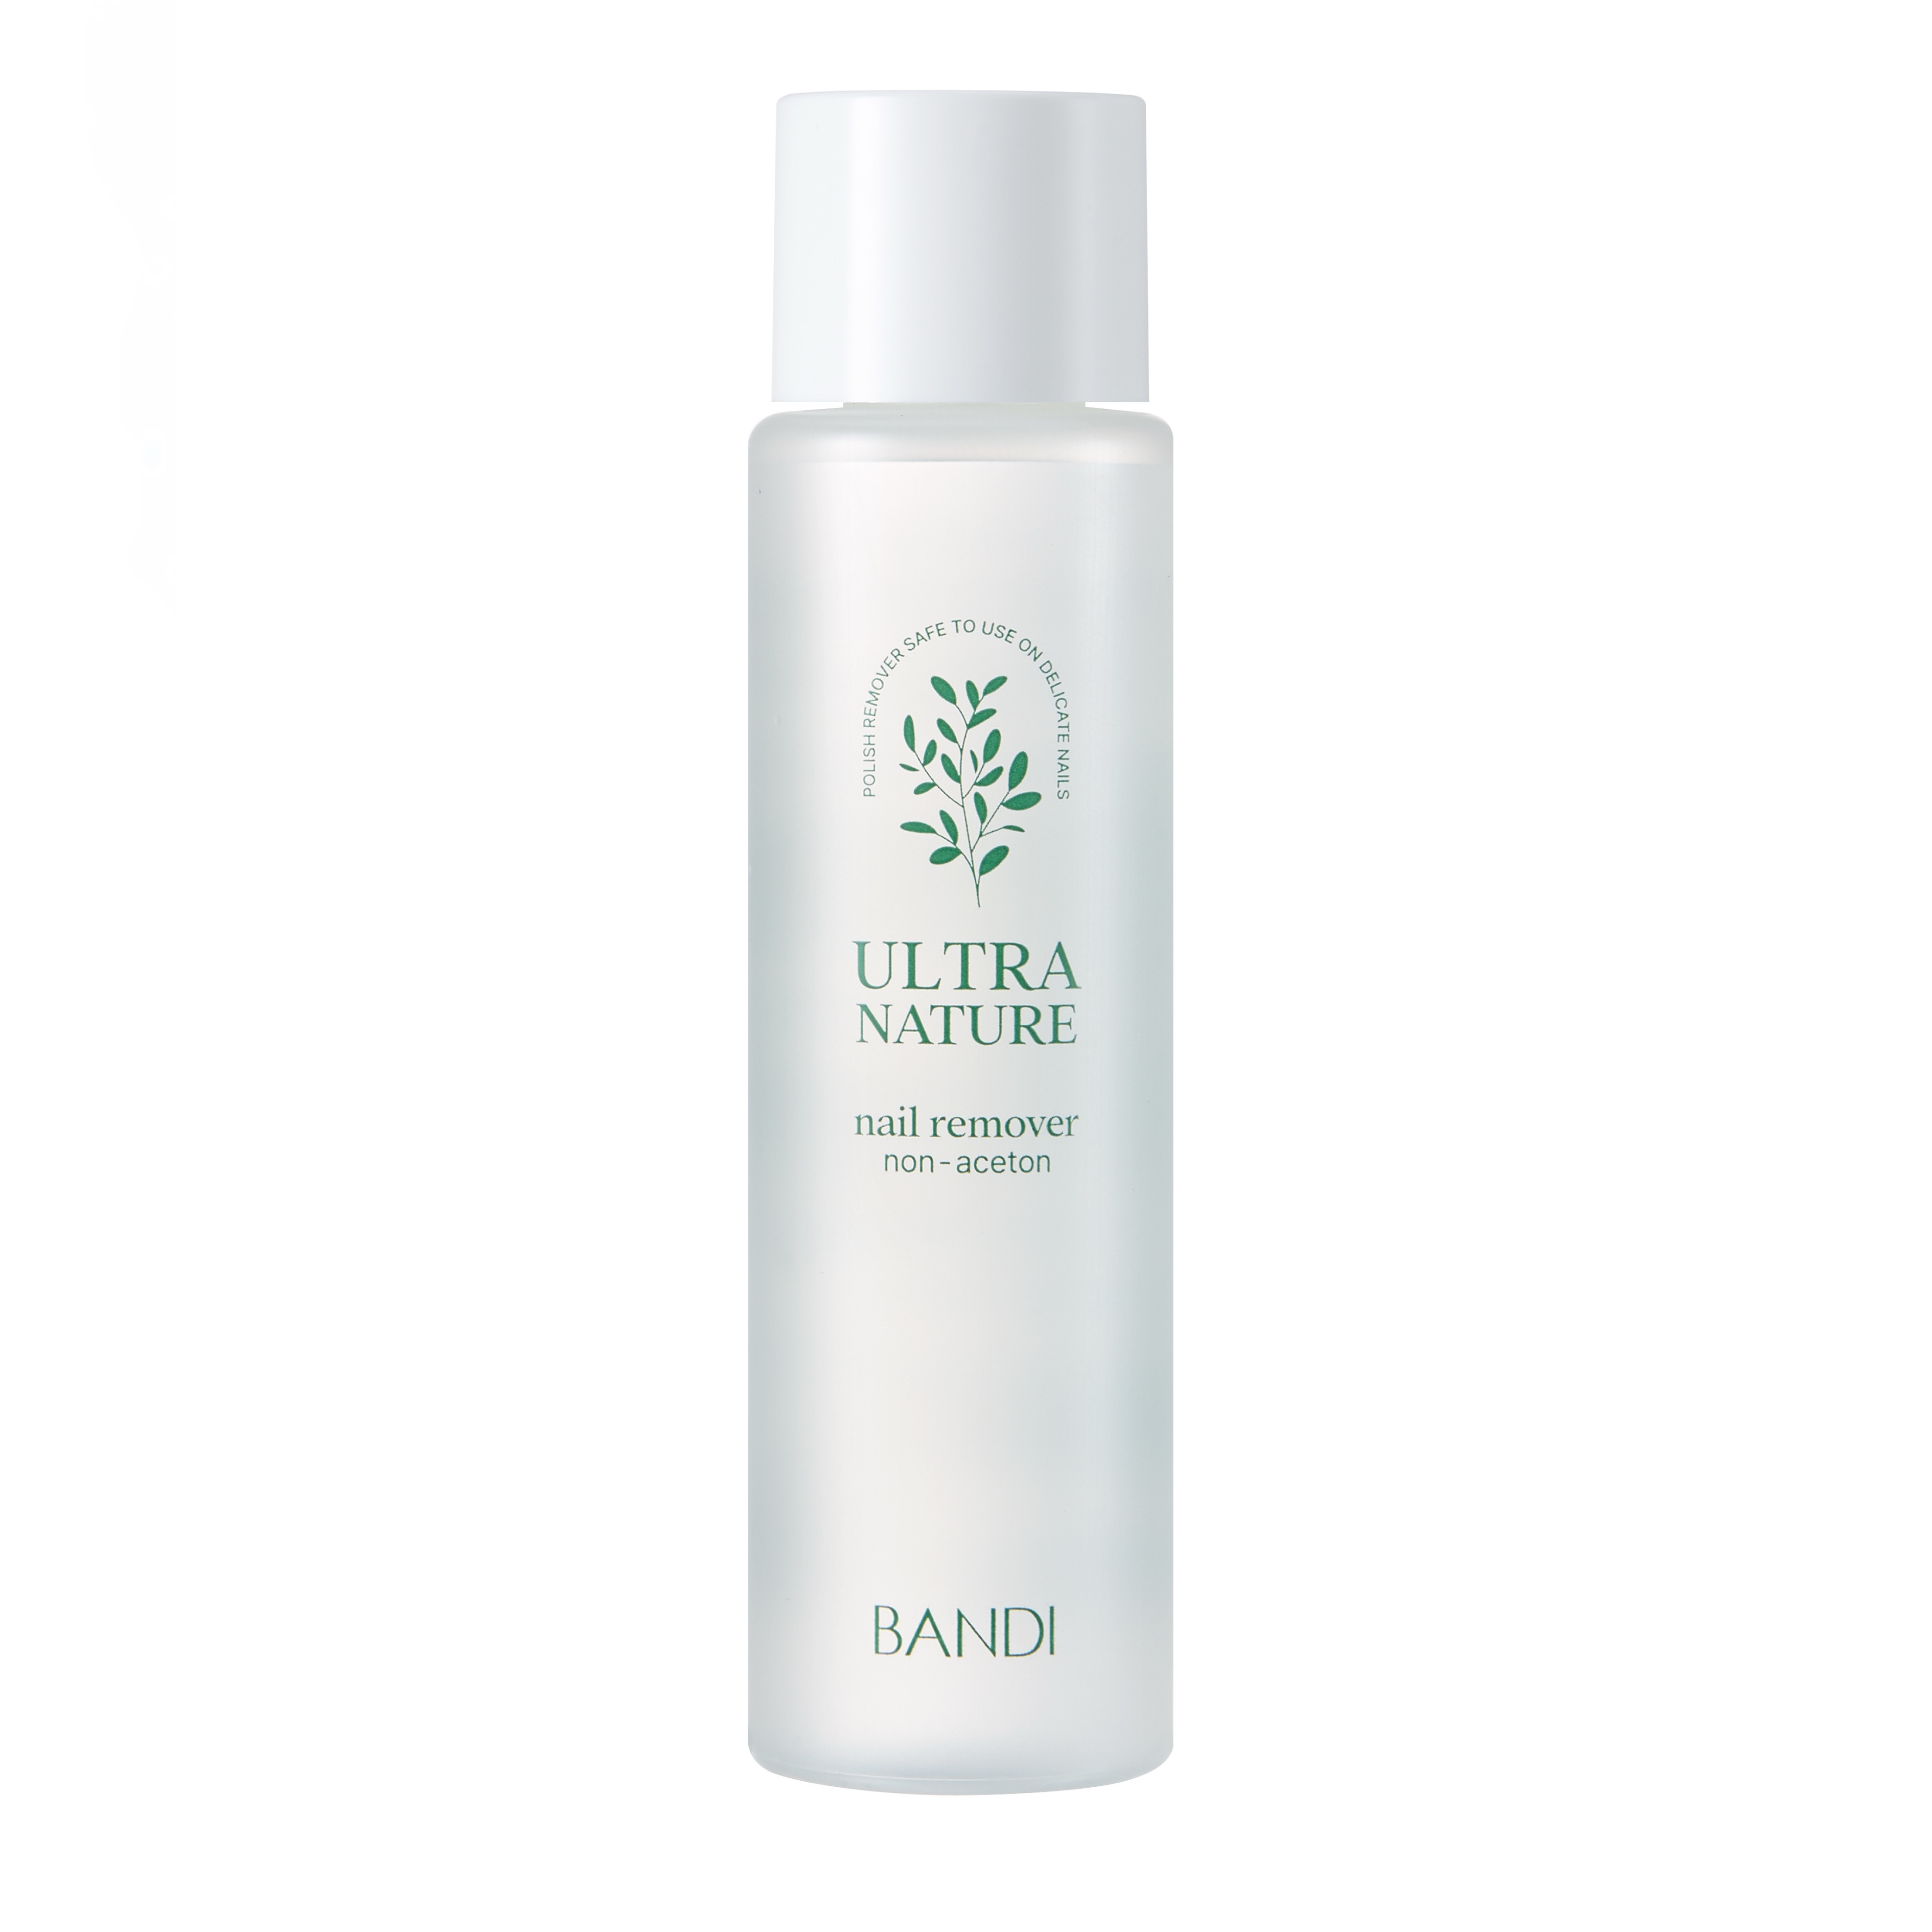
Dissolvant Sans Acétone Ultra Nature-Bandi
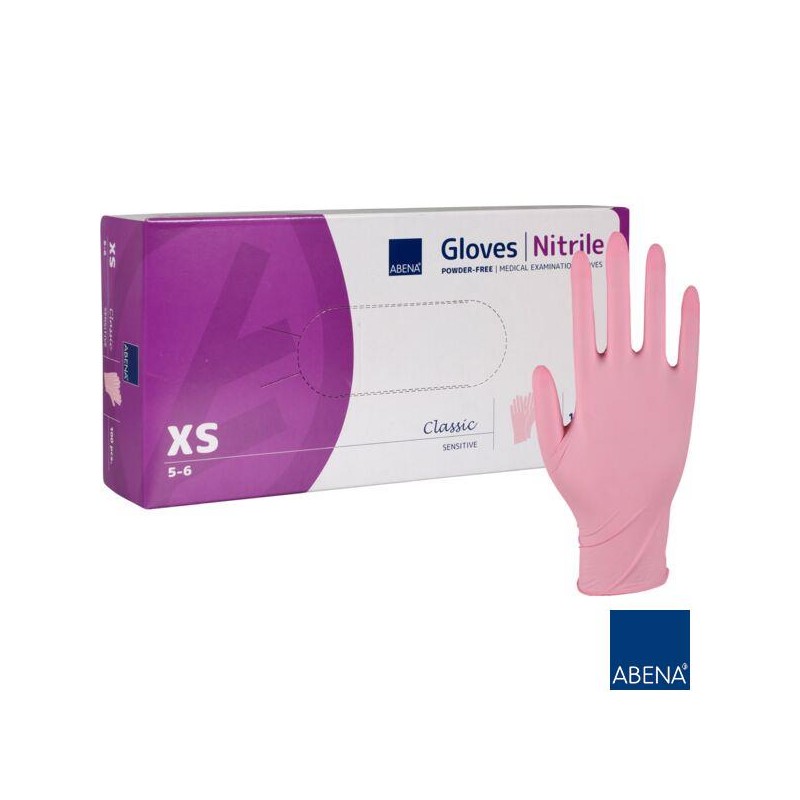
Pink nitrile gloves (size M) - powder-free
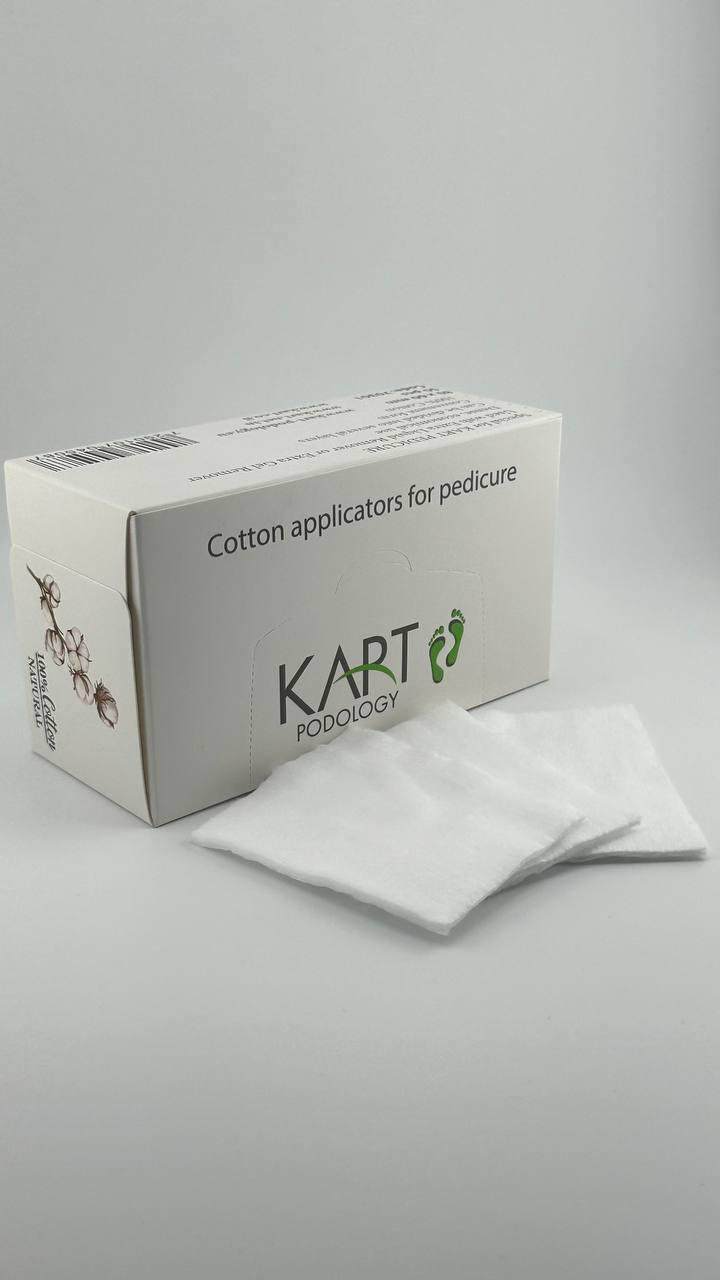
Cotton applicators for pedicure – KART 70301
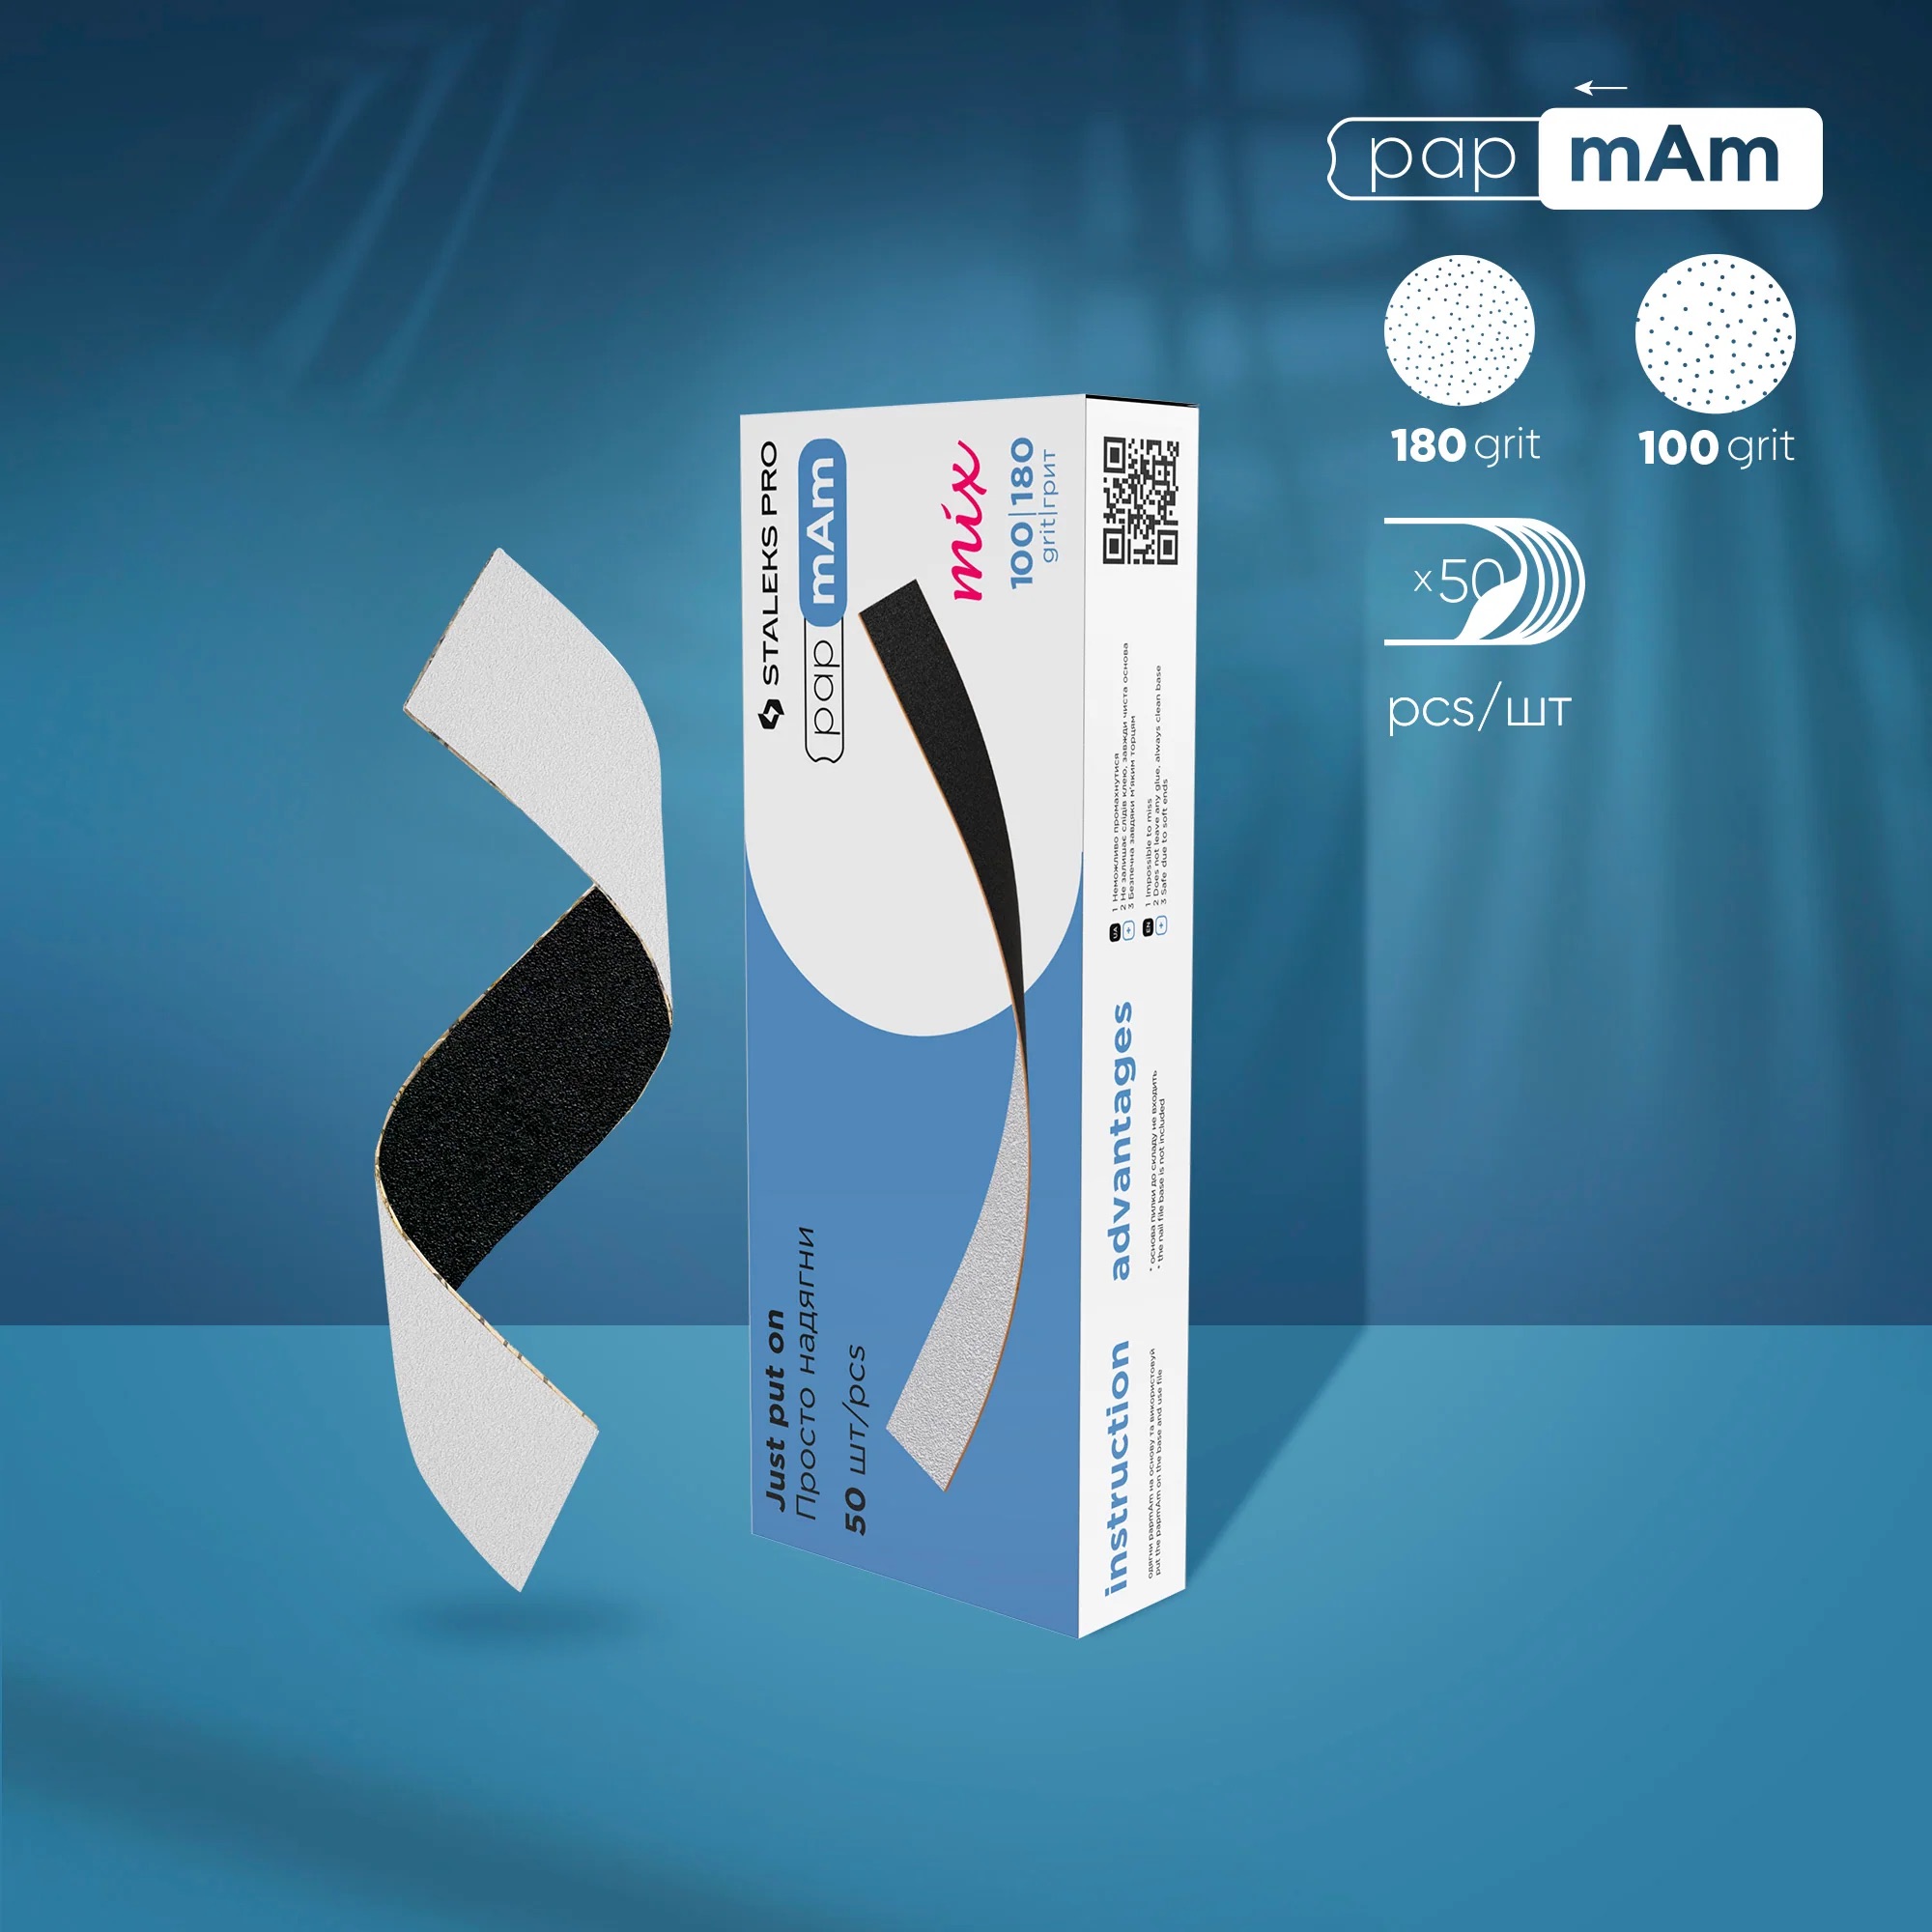
PapmAm 100|180 double-sided files - Staleks pro
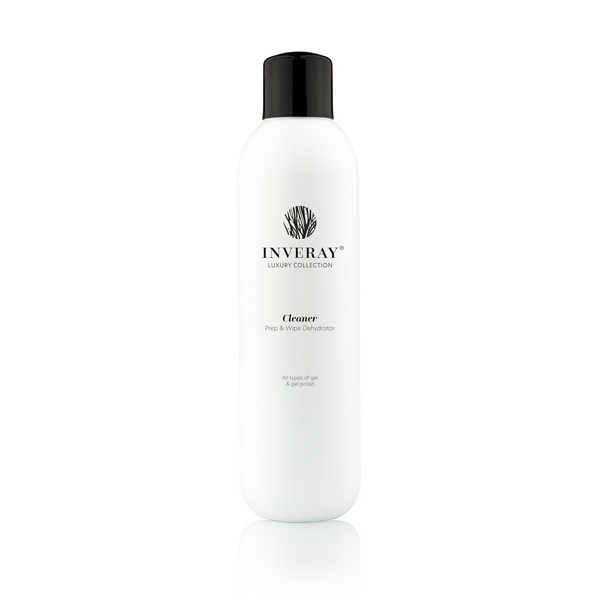
Cleaner Prep & Wipe Dehydrator - Inveray